Creating a Sales Order in the Classic Admin Console
Creating a Sales Order in the Classic Admin Console
Sales Orders in Warehouse Manager can either come in directly from one of our integrations or be created manually in Warehouse Manager.
This document will walk you through creating a Sales Order from within Warehouse Manager in the Classic Admin Console.
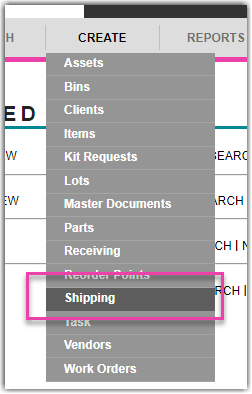
- From the Classic Admin Console, click Create > Shipping.

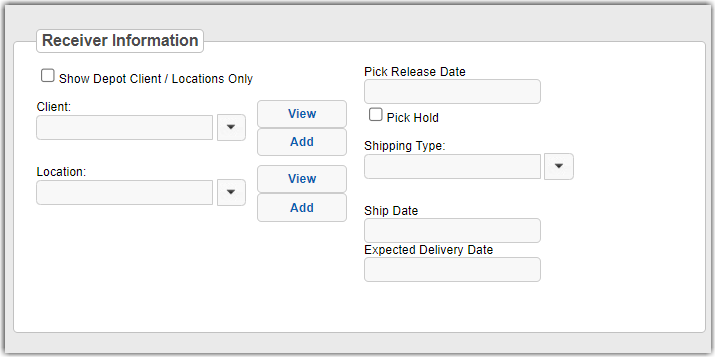
- Select the Client and Location for your Sales Order's recipient. You may also select a Pick Release Date, Shipping Type, Ship Date or Expected Delivery Date here but these fields are optional.

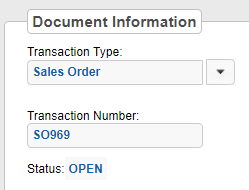
- Select a Transaction Type from the dropdown under Document Information. You may also enter a Transaction Number if you would like, otherwise the system will assign one automatically. You also have the option of entering a Customer PO #, Shipping Paid, Tax and Notes.

- Click Save at the top or bottom left of the window.

- A Transaction Number will be generated if one was not entered manually and the order will display a Status of OPEN.

- A Document Detail section will now become available. From here you will select the Part and Qty that you would like to add to the Sales Order. You may also specify a Unit of Measure and a Unit Price.

- Click "Save Line" to save the line to the order. Repeat these steps to add subsequent lines to the order.
- Your order is now created and ready to be Picked in our mobile interface.
