
Understanding Replenishments
Overview
Replenishments allow customers to designate bins as specific types, such as Overstock, Let-Down, or Pick Bins, which are utilized for restocking pickable locations.
With Replenishments, it becomes possible to uphold product inventory levels above a specified quantity within individual bins or a group of bins. This workflow is particularly beneficial for products that are stored across multiple bins, where specific bins require a minimum desired inventory level while others may not.
Accessing the Replenishment Configuration
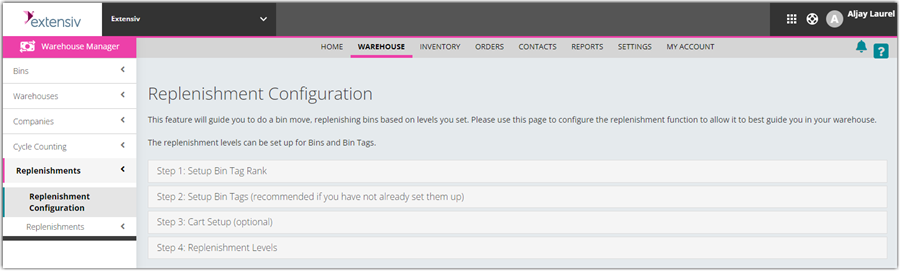
The following steps guide you on how to access the Replenishment Configuration:
- Go to the Warehouse Tab
- Click the Replenishment dropdown
- Click the Replenishment Configuration
Accomplishing the Replenishment Configuration
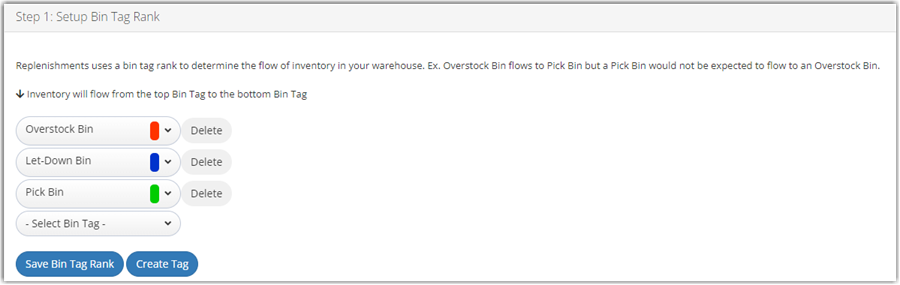
Step 1: Setup one Pick Bin and Setup One-Letdown Bin, and then click the Save Bin Tag Rank button
The Big Tag Rank determines the source bins for the Replenishments. By default, the flow of inventory is Overstock Bin, Let-Down Bin, and Pick Bin. Custom tags can also be created and utilized for Replenishments. Moreover, the Replenishment must be set up for each tag in the rank moving forward.
The Bins must be tagged with a tag included in this rank to be considered for replenishment.
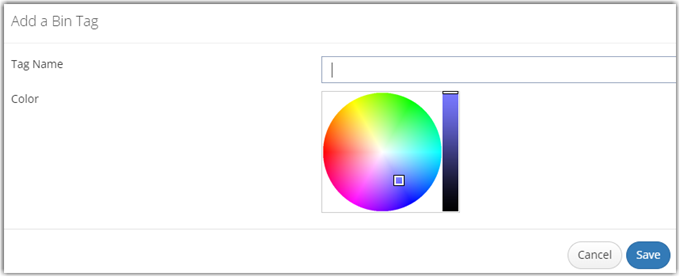
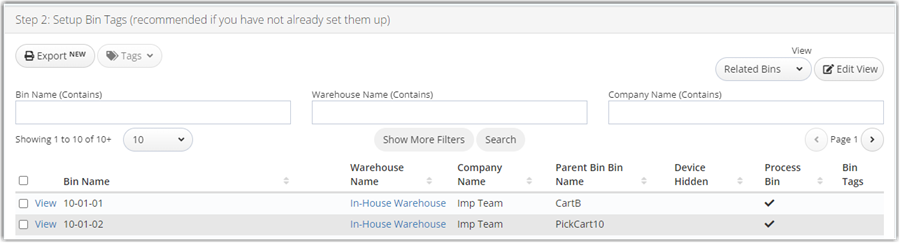
Step 2: Click the Create Tag button, and then set up Bin Tags
It may be helpful to edit this view to include Tags that are not visible. For more information, please visit our help article on Views.

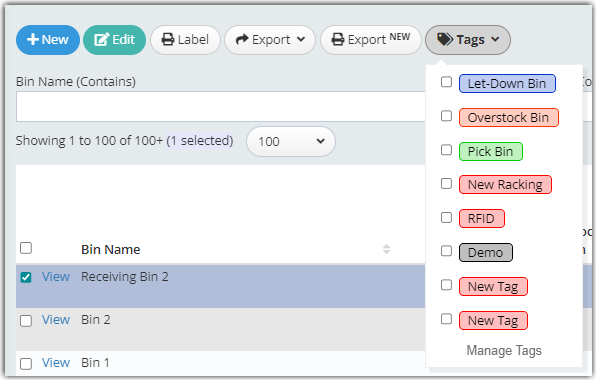
To select a Bin Tag, follow these steps:
Step 2.1: Tick on a Bin (you may select multiple Bins)
Step 2.2: Click Tags
Step 2.3: Select Bin Tag
You may also tag Bins in the Warehouse module.
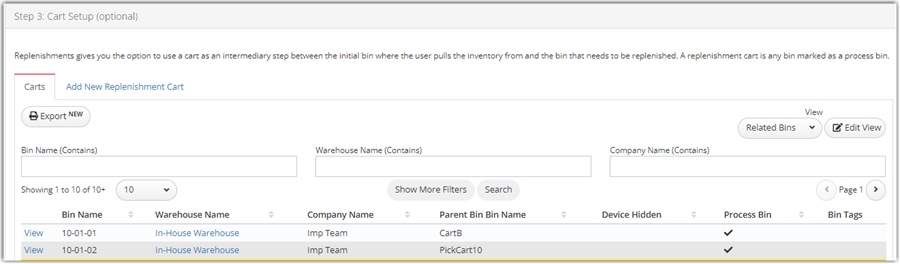
Step 3: Setup Cart
This step is optional. You may proceed to Step 4 if you wish to not set up your Cart.
Replenishment gives you the option to use a cart as an intermediary step between the initial bin where you pull the inventory and the bin to be replenished.
Any Bin marked as a process Bin is a replenishment cart. For more information, you can visit our help article on Pick Carts and Totes.
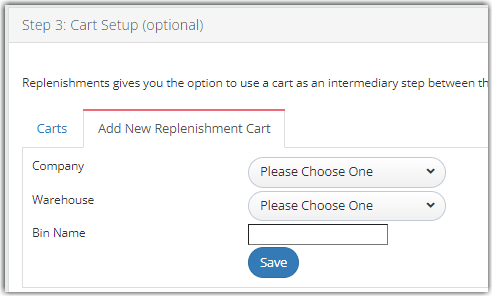
To add a new Replenishment Cart, follow these steps:
Step 3.1: Click Add New Replenishment Cart
Step 3.2: Select the Company, Warehouse, and then input a Bin name.
Step 3.3: Click the Save button
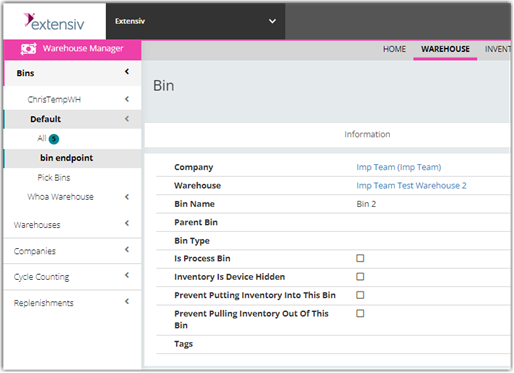
You may also set the Bin in the Warehouse Manager.
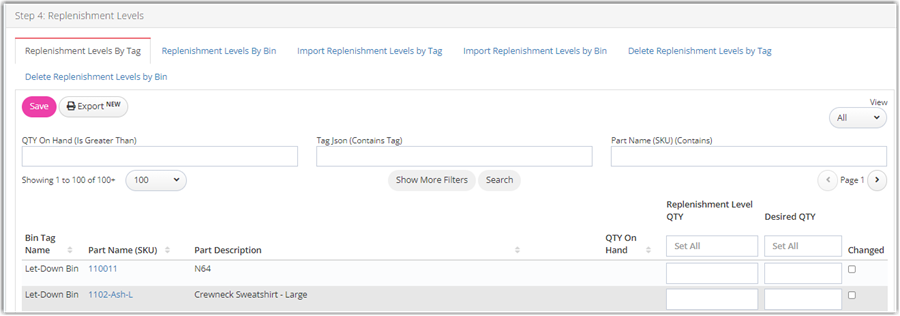
Step 4: Finalize Replenishment Levels
Replenishments Levels are required for Warehouse Manager to determine when replenishments are needed. They can be viewed, imported, or deleted by tag or by bin.
Replenishment Levels can be configured by Tags or Bins. Configuring by Tags provides a broader setting and configuring by Bin allows for more customization of quantities at the bin level.\
To setup Replenishment Levels, follow these steps:
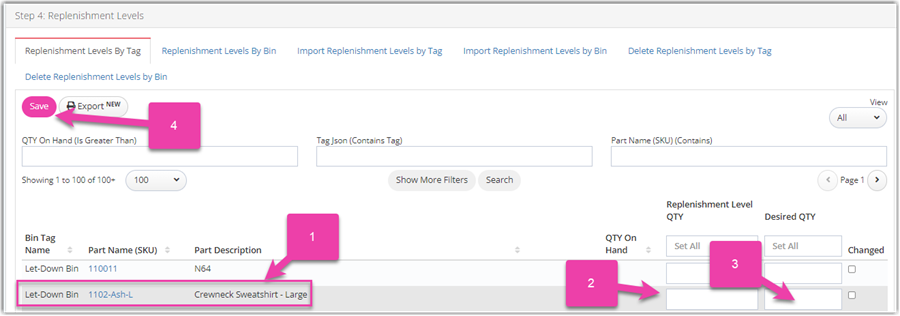
Step 4:1 Find the bin you want to adjust the replenishment level for.
Step 4.2: Enter the Replenishment Level QTY
This field determines in what quantity a replenishment job must be created. If the QTY On Hand falls below this value's threshold, a replenishment job is created.
Step 4.3: Enter the Desired QTY
Desired QTY is the desired inventory level in the specified bin. This could also be considered the maximum amount of inventory in the bin. Extensiv Warehouse Manager will calculate the Desired QTY – Bin QTY to determine how many units to replenish
Step 4.4
Executing on Mobile
Once Inventory has been decremented to at or below the Replenishment Level QTY, a Replenishment Transaction will be created in Mobile.


To perform this action,
- Log in to mobile, and then go to the Bin Move and then the Replenishment.
- Replenishments look at a bin or pick bins with low inventory, and then trigger a replenishment transaction.
- Replenishments can be viewed In Progress, Bin Replenishments, and Tag Replenishments. Replenishment transactions are in the Bin
- Replenishments or Tag Replenishments based on the configuration set in Step 4.
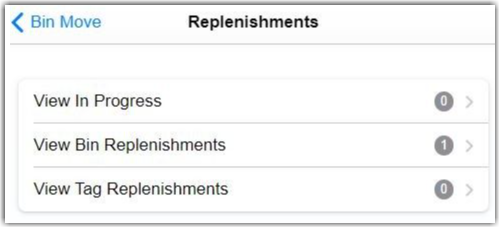
- Click the View Tag Replenishment.

- Select the replenishment to execute. You may select multiple parts.
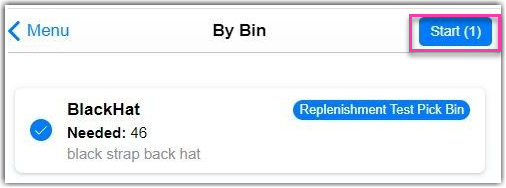
- Click the Start button. The system will ask if you will use carts with this replenishment.

- Click Yes
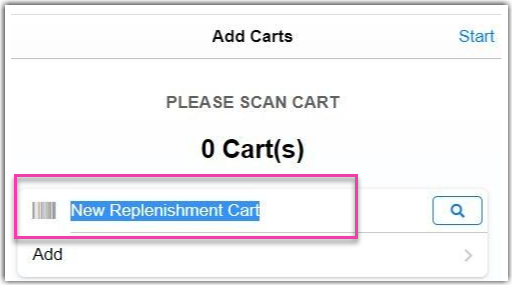
- Enter Cart Name, and then click the Start button. The mobile device guides the user to the Overstock Bin first to pull the required inventory.
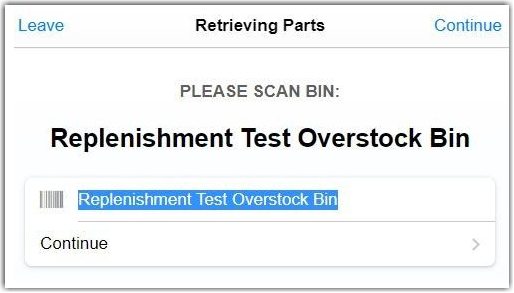
- Click the Continue button
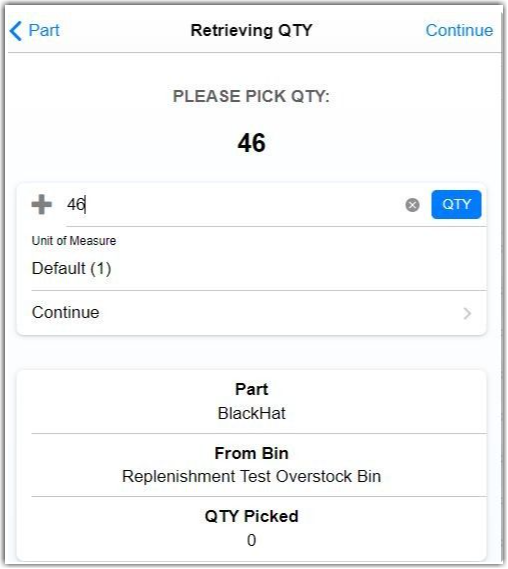
- Enter the QTY (The number is from the configuredDesired QTY), and then click the Continue button
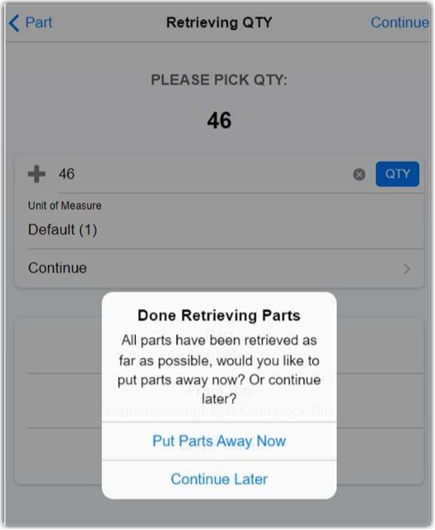
- Click Put Parts Away Now
- If using a Cart, a prompt asks to put parts away now or later.
- If Put Away will be completed later, the transaction remains In Progress.
-
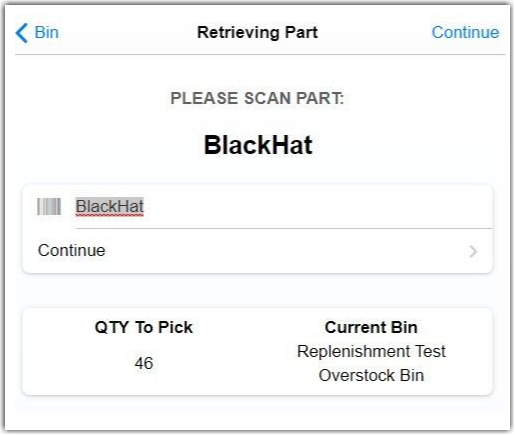
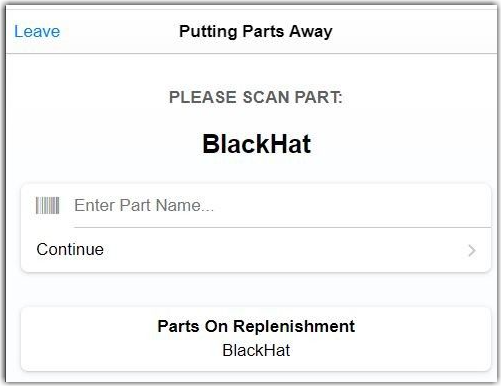
Step 10: Scan the part to verify to complete Put Away, and then click the Continue button.
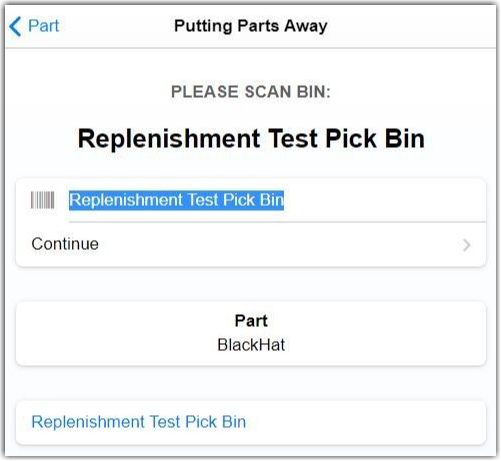
- Scan the Pick Bin requested and then click the Continue button. Doing so puts away the Parts into the requested bin based on the Bin Tag Rank.
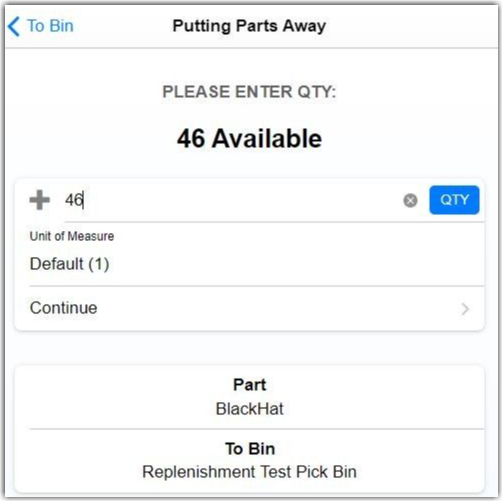
- Enter the QTY on the cart, and then click the Continue button to complete the Replenishment Configuration.
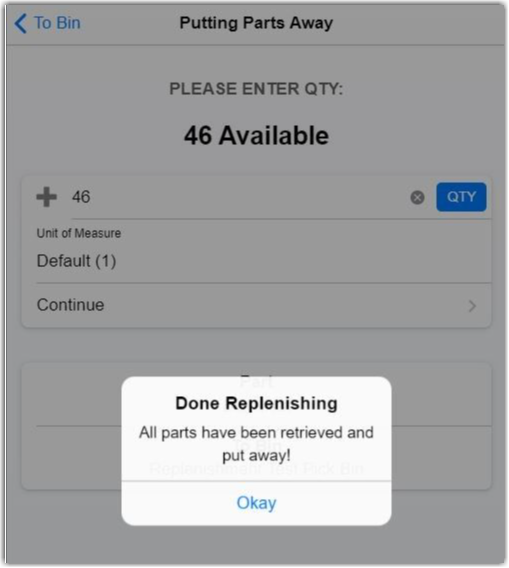
.
An Overstock Bin is up high like back stock and Pick Bin is a location you are grabbing from. Sometimes you will have a Let-Down Binthat goes from Overstock Bin to Let Down Bin to Pick Bin.