Creating Vendors
Vendors are contacts that supply products to your business. You must set them up before creating Parts and creating Receiving Orders. There is also a default Vendor option in Extensiv Warehouse Manager that can be utilized if specific vendors will not be used.
Vendors can be created manually in the UI or imported with a CSV template via SNAP. Additionally, some integrations will create vendors through the integration. Review your integration specifications to determine if vendors will be created automatically.
Creating a Vendor Record in the Admin Portal
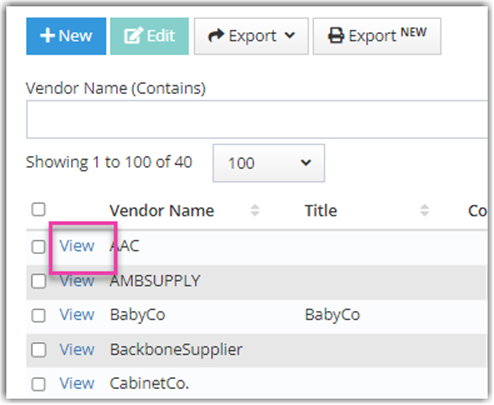
- Go to Contacts > Vendors, then select a View.

- Click New.

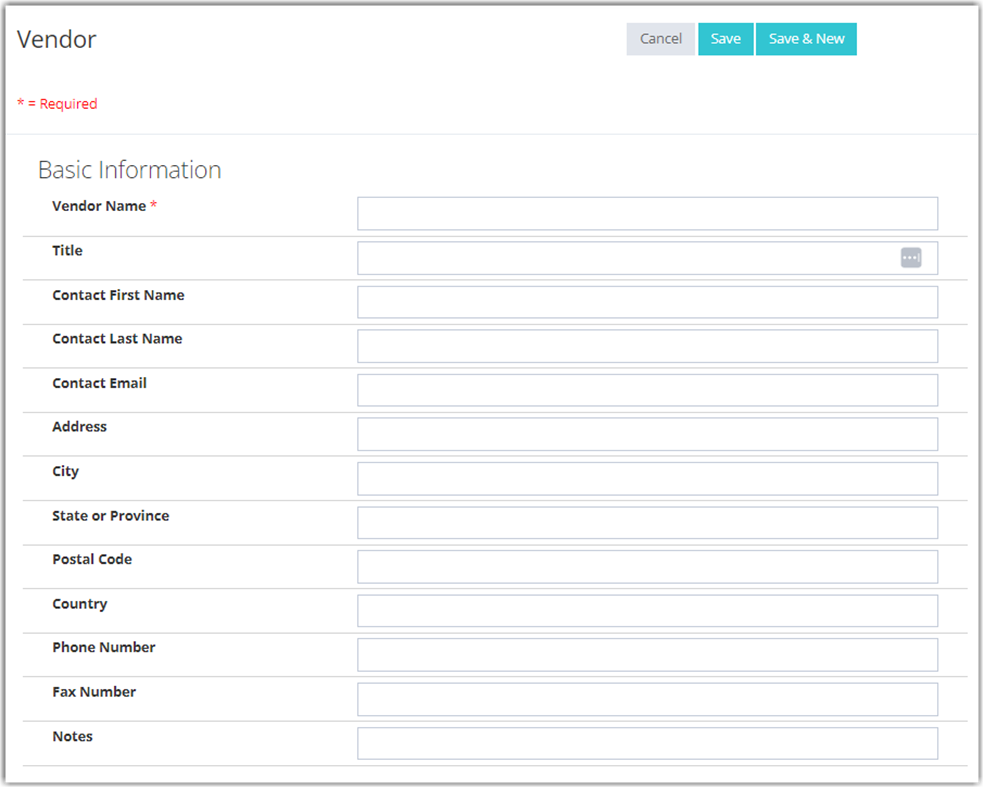
- In the Vendor creation window, enter the ‘Vendor Name’ (required field). Other Basic Information is not required but it is recommended that you enter the ‘Address’ as it will show on the Receiving Orders.

- After you have entered the fields, click Save.
To review Vendor information, you can check it by choosing a Vendor in the list and click View.

The Information tab is where you can view Vendor information. You can click the Inventory or Orders tab to see where the Vendor information is used.


Importing Vendors via SNAP
When importing multiple Vendors, SNAP can be very useful.
To create Vendors using SNAP, first create a CSV File for Vendors. The only required field for import is VendorName, but additional columns that can be imported include ContactFirstName, ContactLastName, Title, Address, City, StateOrProvince, PostalCode, Country, PhoneNumber, FaxNumber, Notes.
Once your CSV file is ready for import, create a New Job in SNAP and run. For more information, please see our article on Import/Export.
