Brightpearl Integration Setup
Brightpearl Integration Setup
This document is intended to walk you through setting up your Extensiv Warehouse Manager – Brightpearl integration.
SKUs in Brightpearl must exist at the default location of each warehouse in order for Warehouse Manager to update the inventory accurately
General Setup
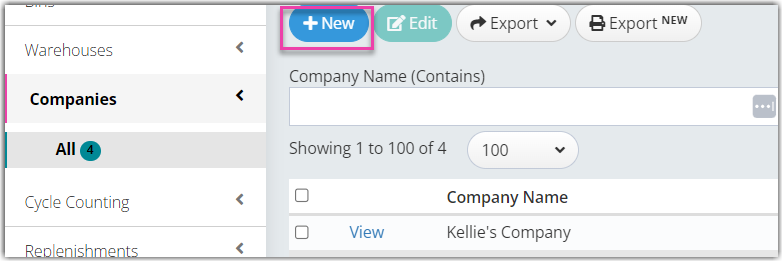
- The integration requires that you have a Company set up in Warehouse Manager. If you do not yet have one set up, you can do so from The New Admin Console at admin.scoutsft.com by navigating to Warehouse > Companies > All > +New.

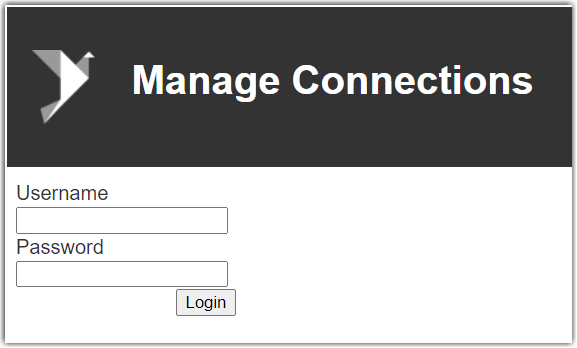
- Log into integrations.scoutsft.com using your main admin username and password.

- Click Add License
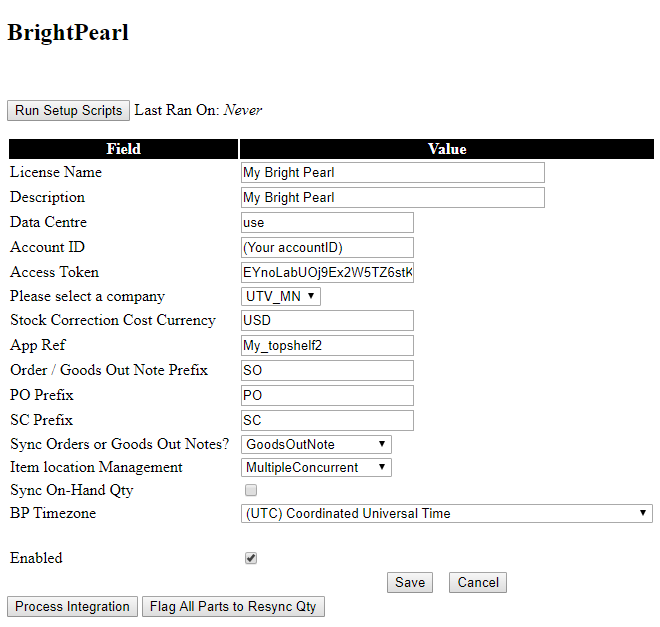
- Click Run Setup Scripts

- Enter a License Name and a Description - These can be whatever you would like them to be.
- Enter Data Centre. This is found in subdomain of brightpearl url https://xxxx.brightpearlapp.com
- If the subdomain is "use1", you will enter "use"
- If the subdomain is "euw1", you will enter "eu1"
- Enter Account ID - Account ID is the Account ID used to log into BP
- Enter Access Token - Access token found in Brightpearl by navigating to AppStore>Private Apps>Add Private App>System App
- Enter a name and Identifier - These can be whatever you would like them to be
- Click "Install"
- Copy the Token from Brightpearl and paste into the field in the Integration Manager.
- From this page you will also copy the AppRef from the "Reference" column into the respective field in the Integration Manager
- Select a Company - Choose your company from the drop down.
- Stock Correction Cost Currency - Enter the value found in Brightpearl for "Code" by navigating to Company>Currencies.
- Order / Goods out note prefix - Standard is SO (Sales Order)
- PO Prefix - Standard is PO (Purchase Order)
- SC Prefix - Standard is SC (Sales Credit / Return)
- Sync Orders or Goods Out Notes? - Select whether to sync GoodsOutNote or SOs
If set to SO you will see a second drop down menu that allows you to choose what order payment statuses are allowed.
- Staff User To Use for Actions - Brightpearl requires a User to be tied to inventory adjustments. Select a default User. If no Users are displayed, you may have to enter the User after completing the rest of the fields and clicking Save.
- Item Location Management - Choose None, Standard, or Multiple Concurrent. This should match what is found in Brightpearl by navigating to Products / Inventory>Inventory Settings.
- None - Tracking a total amount for each Item with no sub level.
- Standard - Tracking inventory based on Warehouse.
- Multiple concurrent - Tracking inventory down at the Bin level.
- Sync on hand QTY.
CLICK SYNC ON HAND QTY ONLY IF YOU WANT TO SYNC QTYS FROM WAREHOUSE MANAGER TO BRIGHTPEARL. IF YOU HAVE NO INVENTORY IN WAREHOUSE MANAGER IT WILL SYNC 0 QTYS TO BRIGHTPEARL
- BP Timesone - Enter the timezone found in Brightpearl by navigating to Company>Other Options
- Enabled - Check this box if you would like the integration to run automatically on it's ~10 minute cycle.
- Save and Process Integration
