Connecting Customers to QuickBooks Desktop
Once your QuickBooks Desktop account is connected, you can capture each of your customers' QuickBooks information within 3PL Warehouse Manager. This article reviews each customer setup field that maps over to QuickBooks.
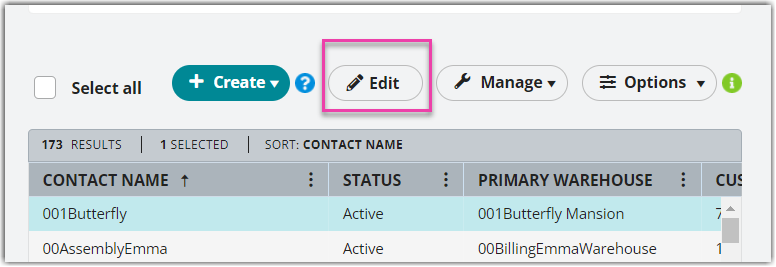
First, navigate to Customers > Manage Customers in 3PL Warehouse Manager, then select the relevant customer's record and click Edit.

Then, select the System configuration section, then update the following accounting fields to connect your customer's QuickBooks information to the system.

-
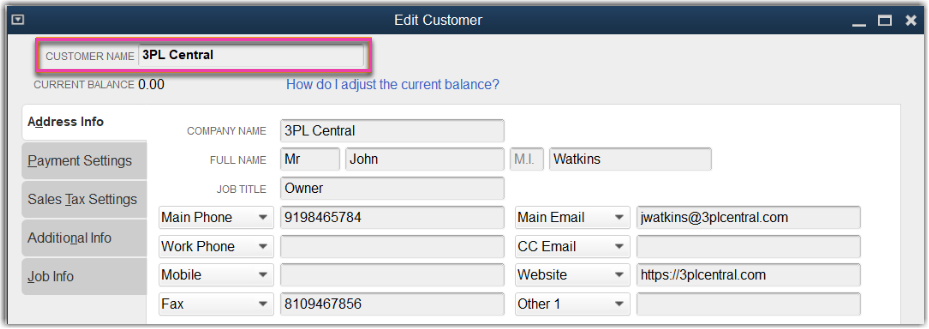
Accounting Name (required): Customer's name on your QuickBooks account
- This value can only contain alphanumeric characters and must match the 'Customer Name' field exactly as it appears in the customer's QuickBooks record.

We recommend you specify a unique 'Accounting Name' for each of your customers, including those which are inactive. Duplicate accounting names will result in an error, including null values.
- This value can only contain alphanumeric characters and must match the 'Customer Name' field exactly as it appears in the customer's QuickBooks record.
- Default invoice confirmation date to the transaction confirmation date: When checked, automatically populates the date a transaction was closed as the invoice confirmation date
Repeat these steps for each customer as needed.
If requested, the below features can be internally enabled per customer. If you're interested in activating any of these features, please contact Extensiv Technical Support and specify which customers you'd like them applied to:
- Adding a transaction's purchase order number as an invoice line item
- Adding a reference number as an invoice line item
- Adding a warehouse code as a class (requires that Classes are enabled in QB)
- Adding billing charge descriptions as line item classes (requires that Classes are enabled in QB)
