Mass-Updating Locations
The Mass Update Locations page allows you to make changes to existing locations via an import file rather than manual entry. This process extracts data from the locations that have been entered into the system, allows you to make changes to the locations through a spreadsheet, and then places the file back into the system to apply the modified settings.
This article reviews how to mass-update locations.
To update locations, you must have the following permission assigned to your user role: Warehouse Module > Manage Locations.
Please note that updating more than 1000 locations at one time or uploading an import template with more than 1000 items will likely result in a timeout error.
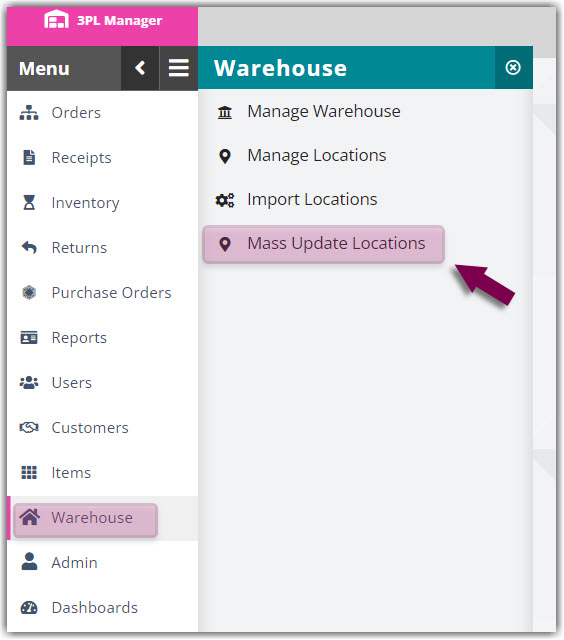
- To get started, navigate to Warehouse > Mass Update Locations.

- Select the relevant Warehouse from the drop-down menu, then click Export.
- Once the exported file downloads, open the file and make the changes that you need under the appropriate columns.
Important! If numerical values contain leading zeros or exceed 11 characters, they automatically convert to scientific notation format upon export. To ensure your data is imported correctly, you must re-format these converted cells to numeric strings.
The easiest way to do this using Excel is to copy your export data and open a new Excel sheet, select the entire sheet, then change the Number format to 'Text'.
Once you have formatted the text, paste your data in, then make your changes. Unlike the default import template process, do not remove the column headers. - After you make your changes, click Save As, enter a new name for the file so you can recognize the updated version of it, then choose to save the file as Text (Tab delimited).
- On the Mass Update Locations page, click Browse, select the updated file, then click Process File.
- A preview of the imported data displays in the text boxes. Once you've verified the data for accuracy, click Update Locations to finalize the import.
The locations are now updated in 3PL Warehouse Manager and available for viewing/editing under Warehouse > Manage Locations.

