-
Shipping Operations
- Order Creation
- Order Management
-
Shipping Setups
- Understanding the Parcel API
- Connecting Carriers to Providers
- Understanding Carrier Account Logic
- Configuring Zebra Browser Print
- Configuring Small Parcel Settings
- Using Address Validation
- Connecting Multiple Accounts for the Same Carrier
- Managing Carrier Accounts
- Configuring Fulfillment Invoicing
- Using a Flat File Carrier Integration
- Managing Shipping Carriers
- Configuring a Drop Ship Address
- Managing Ship-to Contacts
- Managing Retailers
- Importing Ship-to Contacts
- Managing Ship Method Mappings
- Managing 3rd-Party-Billing Contacts
- Shipping Hazardous Materials
-
Small Parcel Carriers
- Shipping in Small Parcel Suite
- Shipping with Amazon Buy
- Shipping with APC
- Shipping with Australia Post
- Shipping with Canada Post
- Shipping with Canpar
- Shipping with DHL eCommerce
- Shipping with DHL Express (AU)
- Shipping with DHL Express (US)
- Shipping with ePost Global
- Shipping with FedEx
- Shipping with FirstMile
- Shipping With Flexport
- Shipping with Globegistics
- Shipping with Landmark
- Shipping with OnTrac
- Shipping with PARCLL
- Shipping with Passport
- Shipping with Pitney Bowes Cross-Border Delivery
- Shipping with Pitney Bowes Standard
- Shipping with Purolator
- Shipping with RR Donnelley
- Shipping with SEKO Ecommerce
- Shipping with Sendle
- Shipping with Stallion Express
- Shipping with Tusk Logistics
- Shipping with UPS
- Shipping with USPS (BUKU Ship)
- Shipping with USPS (Endicia)
- Shipping with USPS (Stamps.com)
- Shipping with UPS Mail Innovations®
- Shipping with FedEx One Rate®
- Shipping with USPS (Pitney Bowes Expedited)
- Connecting Small Parcel to UPS
- Packing Basics
-
Order Processing
- Navigating the Small Parcel Homepage
- Packing in the Small Parcel Space
- Shipping in the Small Parcel Space
- Using High Volume Processing (HVP) with SmartParcel
- Printing Return Labels
- Printing Combo Labels
- Voiding Shipping Labels
- Troubleshooting Blank Shipping Labels
- Creating End of Day Requests (Manifesting)
- Billing Best Practices for Shipping
- International Shipping
Freight Fees
Freight fees represent the shipping costs of an order and can be configured to charge customers based on the overall cost and an optional markup.
There are two methods of applying freight fees to an order: configuring them manually via the Billing Wizard or populating them automatically through a small parcel label solution, such as SmartParcel. If freight fees are applied via SmartParcel, they are automatically populated in the 'Order Charges' section of an order and can then be marked up by a flat rate or percent.
This article reviews the process of configuring a manual freight charge in the Billing Wizard.
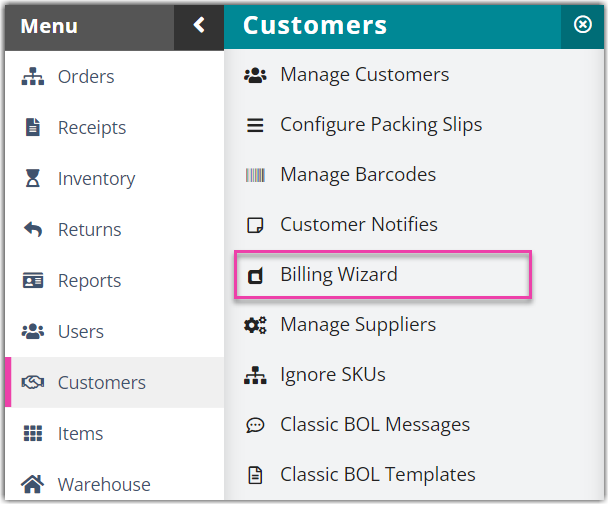
- Navigate to Customers > Billing Wizard > Per Transaction Billing Setup.
- Select a customer from the drop-down menu, then click Select.
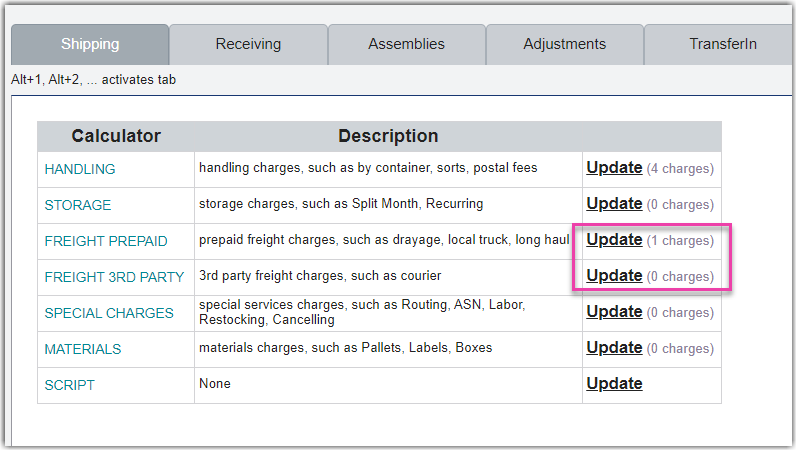
- Under the 'Shipping' tab, click Update in the 'Freight Prepaid' or 'Freight 3rd Party' charges row. Please note that shipping costs cannot be returned when billing third-party.
- Click Add.
- For 'Charge Label', name the charge appropriately.
- For 'Unit', select Order from the drop-down menu.
- Specify the 'Billing Type' as Manual.
- Enter 1 for 'Charge per unit', then click Save.
The new fee will populate in the grid and can be manually applied to any order for the specified customer. Repeat for each customer as needed.
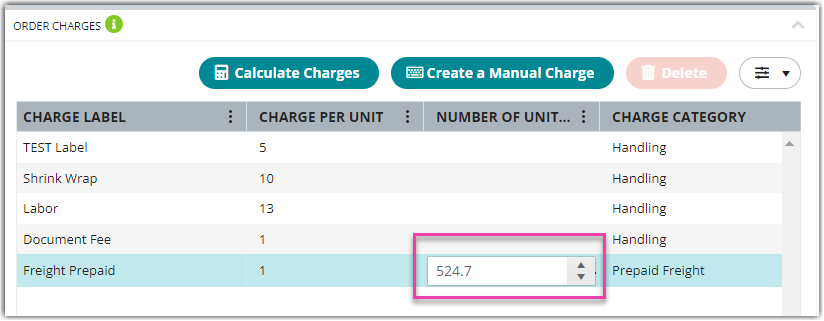
The manual charge is applied in the 'Order Charges' section of an order, in which you select the appropriate row under the 'Number of Units' column in the grid, enter the correct charge amount, then click Save on the order.
To configure markup costs associated with freight fees, see Configuring Small Parcel Settings.