Email Verification Process for P.O. & E-mail Templates
This article reviews the process to utilize the “From E-mail” field in both P.O. and E-mail Templates. If you do not utilize this field for any of your templates, or if you have already completed this verification process for every template that has a “From E-mail” field input, you do not need to go through this process.
About the Feature
The From E-mail field allows your company to appear to be the sender for Purchase Order emails and Shipment Notification emails to your vendors and customers, respectively. The email address entered should be the appropriate one that your vendors can reply to for matters regarding your purchase orders, or the appropriate address that customers can address customer service requests to for shipment notifications.
Set-Up Instructions
- Once you've entered the Edit mode of an existing template or have clicked the + New Template button to start anew, enter your “From E-mail” input. There is built-in validation for this field, so if you input an email address with improper formatting (ie: if it lacks an “@” sign, etc.), the email address will not be accepted.

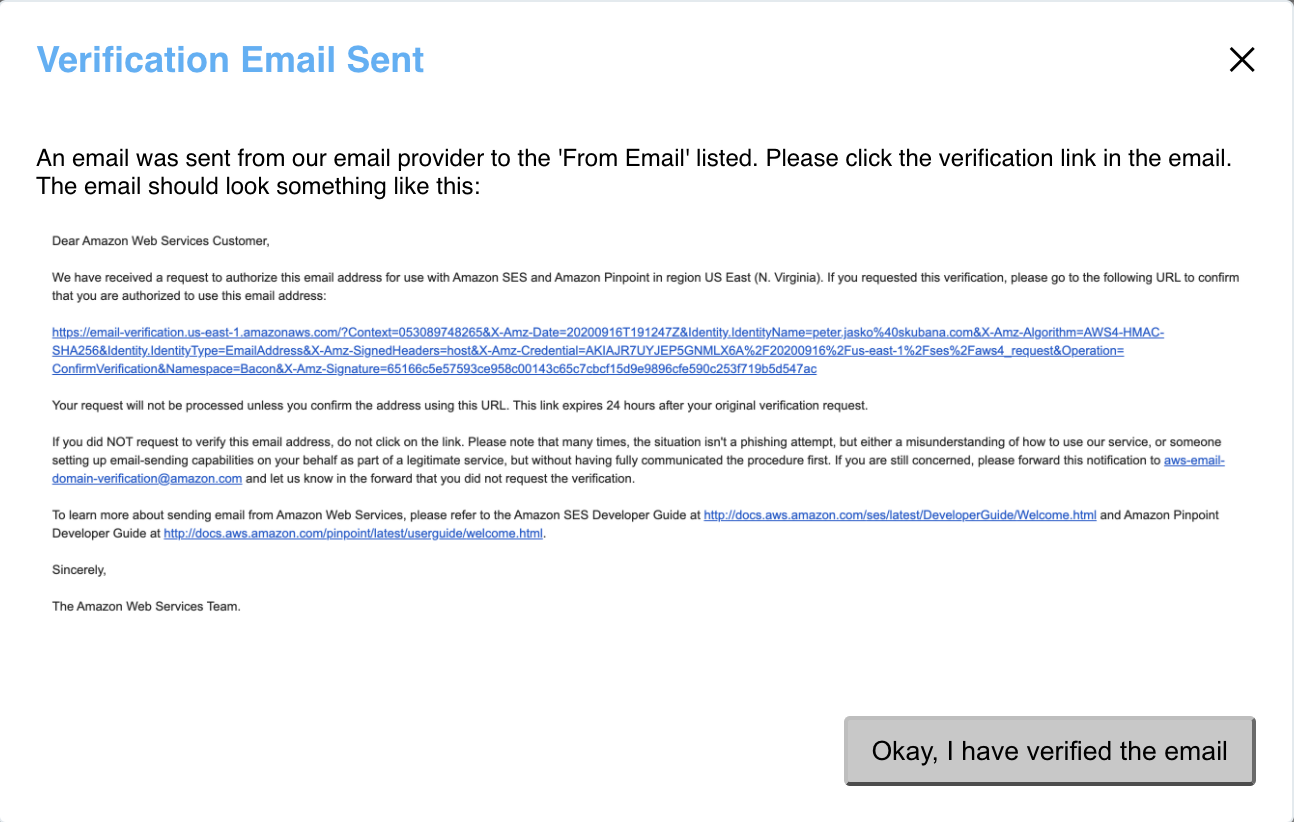
- The Verify Email button should be an option once a valid email address is entered. Clicking this button will generate a verification email sent to the email address specified. Each time you click the button, a new email will generate and send. You only need to click one verification link per template. A pop-up will appear, confirming that an email was sent to the address you entered. It will show you what the email will generally look like.

- At this point, leave this window as is and check the inbox of the specified email address for the verification email. Click the verification link in the middle of the email body. If you don’t see the email right away, check your Spam folder and/or search for an email from no-reply-aws@amazon.com. If you still do not see the verification email, double-check that the email address you entered in Step 1 matches the inbox you are checking, then repeat Step 2. The email's subject will start with "Amazon Web Services – Email Address Verification Request in region". Open the image below in a new tab for a closer look at an example.

- Once you click the verification link in the verification email, the email template will be ready to use. Return to Extensiv Order Manager and click the button stating "Okay, I have verified the email". You will now be able to save the template as is or make any additional customizations to it. If you’re able to save your template, that is the positive confirmation that you successfully clicked the verification link.
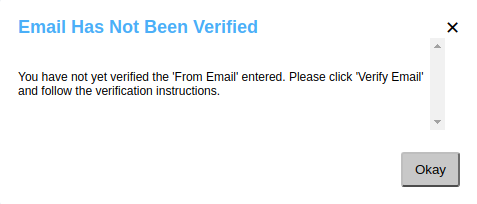
- If you have not clicked the verification link, you will not be able to successfully save your template. You’ll receive a notification that looks like this (see below). Repeat Steps 2-4.

