Creating Items
Items are the backbone of 3PL Warehouse Manager. Correctly setting up inventory items is the key to reporting and warehouse management, as proper item setup increases productivity and limits potential discrepancies throughout the system.
This article reviews how to create an item in 3PL Warehouse Manager—you can manually input individual items into the system, or you can import items using a spreadsheet.
To create and manage items, you must have the following permission assigned to your user role: Customer Module > Customer Items > Manage Items.
Create items manually
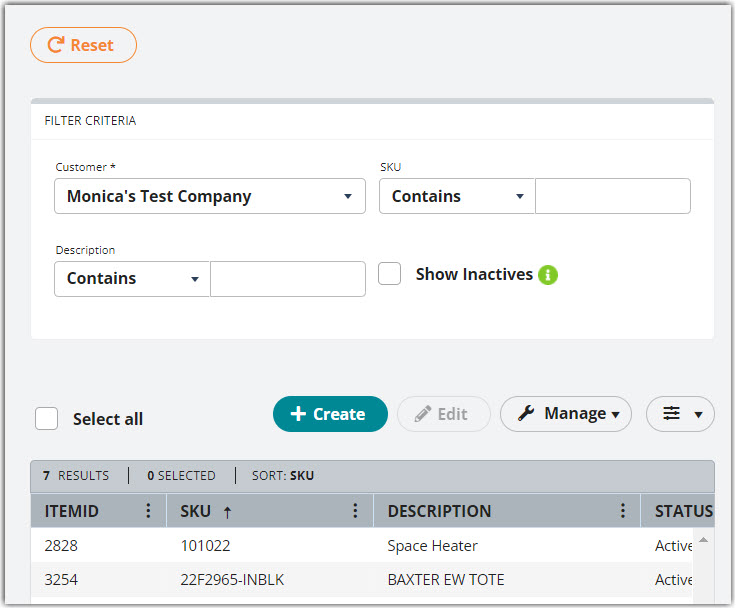
The first option of entering items in the system is via manual entry. Navigate to Items > Manage Items, select a customer from the drop-down menu, then click Create.

The right pane populates with a new form that contains four sections. Each section is fully outlined in the articles on your left and listed below. As you complete each section, be sure to click Save as needed.
- Entering Basic Item Details
- Defining Units of Measure
- Creating Item Assemblies
- Configuring Item-Level Recurring Storage
- Configuring Item-Level Storage and Handling Charges
Import items
If you have a large number of items to create or you already have a spreadsheet that contains the item information, we recommend adding these items into the system via import file.
To successfully import items, you must have the following permission assigned to your user role: Customer Module > Customer Items > Import Item Definitions.
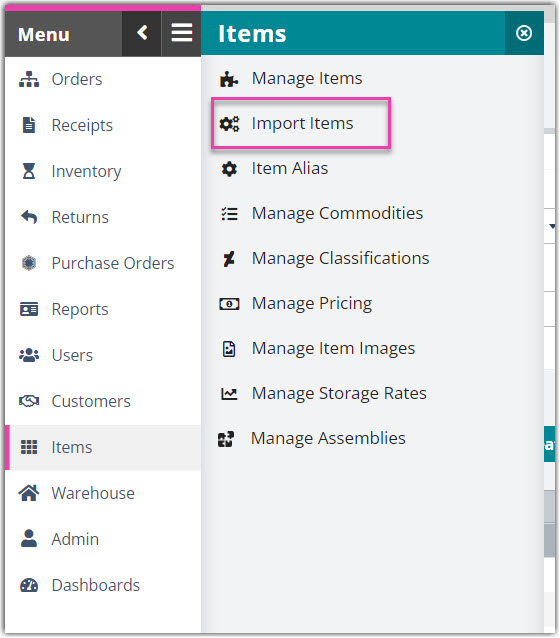
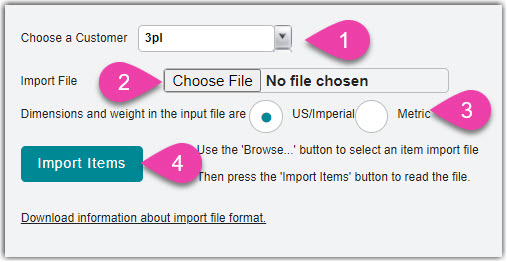
- Follow the instructions on the Item Import Template, then navigate to Items > Import Items and select a Customer from the drop-down menu.

- Click Browse, then double-click the import file.
- Specify what the 'Dimensions and weight in the input file are'.
- Click Import Items. A preview of the item data displays in the 'Items To Be Created' grid and the bottom two text boxes.

- Once you verify for accuracy, click Create Items to finalize the import. If successful, you can view each item on the Manage Items page.

