Bin-Picking
Intended primarily for ecommerce fulfillment, a pick-to-bin process allows you to batch pick groups of orders that share common SKUs. Pick-to-bin leverages special carts that contain a specific number of bins, in which each bin holds the contents of a particular order. Once picked, each bin can be quickly packed and prepared for small parcel shipment.
To prepare for the pick-to-bin process, you must first have carts and uniquely barcoded bins set up in your warehouse. There is no bin configuration necessary in 3PL Warehouse Manager or SmartScan.
It is best practice to develop a unique naming convention when labeling bins. The system does not support certain values such as "1" or "2" for bin IDs, as it mistakes these identifiers as duplicate transaction numbers. We recommend using a convention such as "Bin1", "Bin-001", or a similar value to ensure the system correctly identifies the bin ID.
Once a bin is associated with a picked order, you can use that barcode to populate the order in SmartScan's Pack module or on the SmartPack page in 3PL Warehouse Manager until the order is packed. If you want to keep the Bin ID searchable, you can enable the customer setting “Disable auto-clear of Bin ID on Pack” to remove the Bin ID after the order is closed instead of clearing this value after being packed.
The following diagram displays a general layout of the pick-to-bin process.
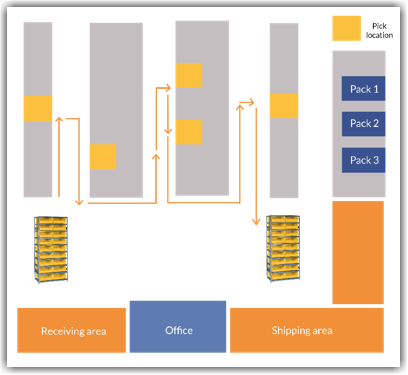
Once a pick job is created in 3PL Warehouse Manager, you must utilize SmartScan to complete the batch pick. This article reviews how to complete the pick-to-bin process using SmartScan.
- Log in to SmartScan.
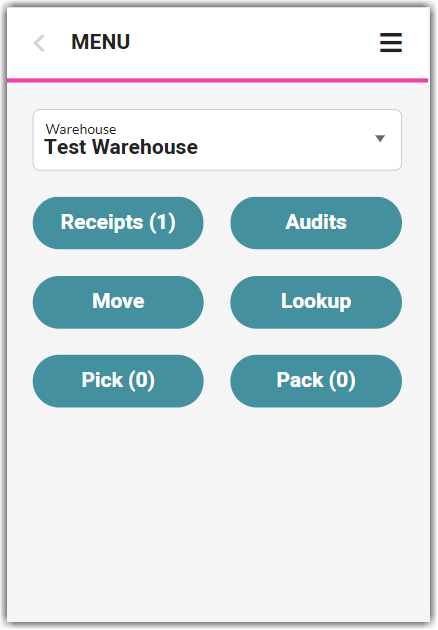
- Ensure the appropriate 'Warehouse' is selected from the drop-down list, then tap the Pick module. Note that the number displayed reflects the number of orders available to pick.
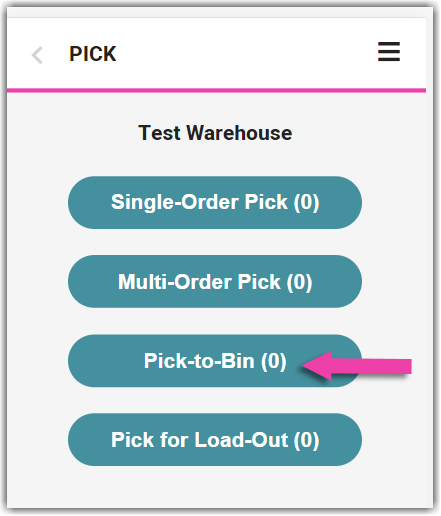
- Tap Pick-to-Bin.
- Pick jobs are prioritized by specified priority and transaction number.
- To begin the order shown, tap Start Pick.
- To skip to the next prioritized order, tap Skip Pick. Once all orders are skipped, there is an option to 'Reset Pick' to the beginning of the pick job list.
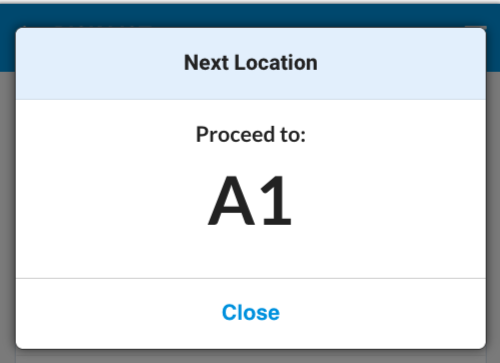
- If a specific location is associated with the pick job, SmartScan directs you to proceed to that location.
- Once the Pick SKU/UPC dialog opens, scan the 'Location' and 'SKU/UPC' for the first item, as well as any required track-by's, such as Lot Number or Serial Number.
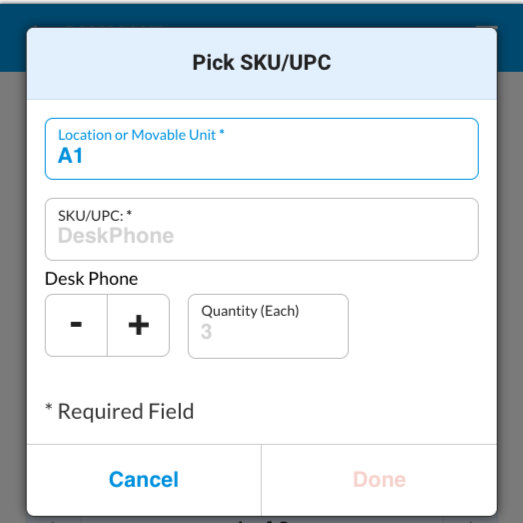
If you click Cancel to return to the pick list, you can search for a specific SKU, UPC, or MU by typing or scanning the respective value. SmartScan will open the first line item that matches the specified value. - If the quantity is greater than 1, scan each item until the full quantity is reached.
- Distribute the items across the appropriate bins, scanning each 'Destination Bin' barcode.
After you scan a unique bin number for the first time, SmartScan validates that bin ID for any additional items going into the same bin. Please note that the bin is associated with the order until it is fully packed, and you cannot use the same bin for more than one order at a time. - Once placed in the appropriate bin(s), the line item displays a green check to indicate the inventory has been picked. Repeat Steps 5–7 until all items are picked. If you have multiple pages of line items to pick, tap one of the bottom arrows to navigate to the next or previous page of line items.
To unpick an item, select the appropriate line item, then tap Unpick SKU. Repeat the pick as needed.
- Once you complete the pick job, tap Finish Pick. A confirmation message appears.
Now that the pick is complete, the Pick Done Date column populates with the appropriate data in the Find Orders grid and the orders populate in the Pack module.
