Shipping With Flexport
This article reviews the features and services available when shipping Flexport orders through Small Parcel Suite and how to connect a Flexport carrier account to Small Parcel Suite.
Supported providers
Label Provider |
Supports Flexport? |
BUKU Ship |
No |
Flexport |
Yes |
Pitney Bowes |
No |
ShipEngine |
No |
Supported features
Feature |
Description |
Supported? |
Adult Signature |
Requires recipient to sign for a delivery and be at least 21 years old |
No |
Carrier Insurance |
Insurance available for purchase through carrier |
No |
Delivery Confirmation |
Allows recipient to receive text or email notification upon delivery |
No |
Domestic Shipping |
Shipping supported in U.S. |
Yes |
Electronic Customs Submission |
Commercial invoice is automatically delivered to customs after shipping label is printed |
No |
End of Day (Electronic) |
Order is automatically manifested with carrier |
No |
End of Day (PDF) |
No |
|
Shipping supported outside of U.S. |
No |
|
Label Reference Fields |
Allows up to three label messages per shipping label |
Yes |
Multi-Package Shipping |
Multiple packages allowed per shipment |
Yes |
Multiple Accounts |
Allows connection of multiple prepaid billing accounts |
Yes |
Rate Shopping |
Returns estimated shipping rates |
Yes |
Return Labels |
No |
|
Signature Confirmation |
Requires someone at or near the delivery address to sign at time of delivery |
No |
Tracking |
Verification of delivery progress |
Yes |
Supported services
The ship services listed below are available when shipping Flexport orders in 3PL Warehouse Manager. Please note that these service names may vary slightly from their official carrier labels.
Service |
Transport Territory |
Flexport Expedited |
United States |
Flexport Standard |
United States |
Connection guidelines
Before you can start shipping orders through Flexport, you must first connect your Flexport account to Small Parcel Suite from the Small Parcel Settings page.
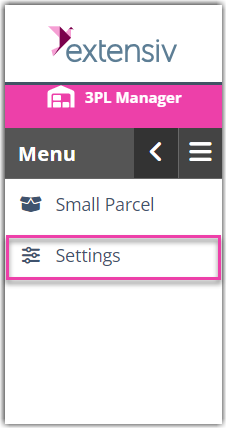
- Navigate to the Small Parcel space, then select Settings and choose a customer from the drop-down menu.

- In the Carrier Accounts section, click Create.

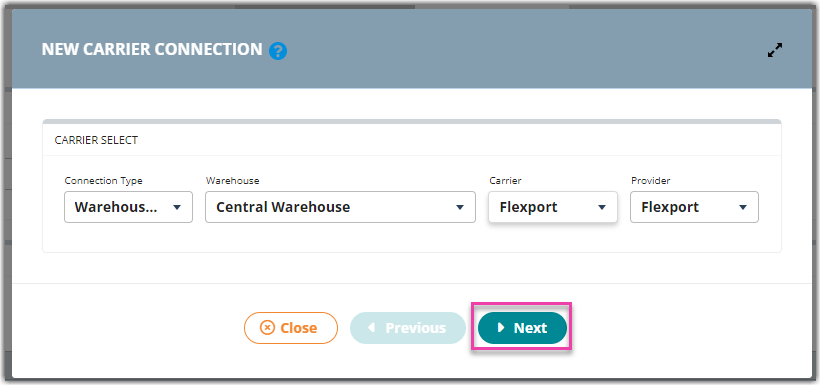
- Using the drop-down menus, specify whether you are setting up a 'Warehouse Account' or 'Customer Account', select the relevant warehouse or customer, choose Flexport then click Next.

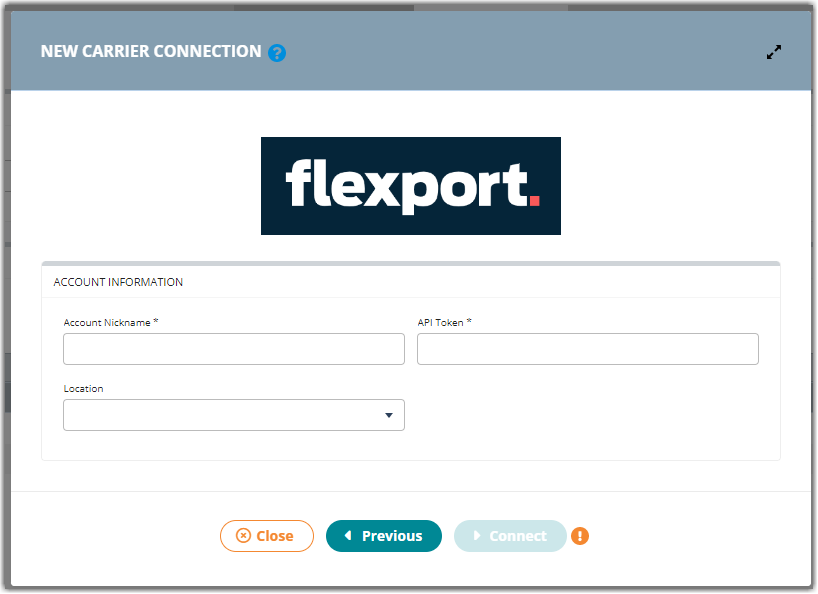
- Specify the “API Token” and “Location”. If you are unsure of these values, please check with your Flexport representative to confirm. For 'Account Nickname', enter a descriptive name to identify the account.

Once connected, the carrier account is instantly set up, and your warehouse can start shipping against the account.
