Shipping Internationally with SmartParcel
2.2 min read
|When shipping international orders in 3PL Warehouse Manager, there are settings you must configure prior to shipment and international data you must define for the shipping carriers. This article guides you through configuring those settings and capturing that data.
Before proceeding, please be aware that this process requires you to have SmartParcel enabled for your account and the necessary customs information present on the orders you are shipping.
Step 1: Configure international SmartParcel settings
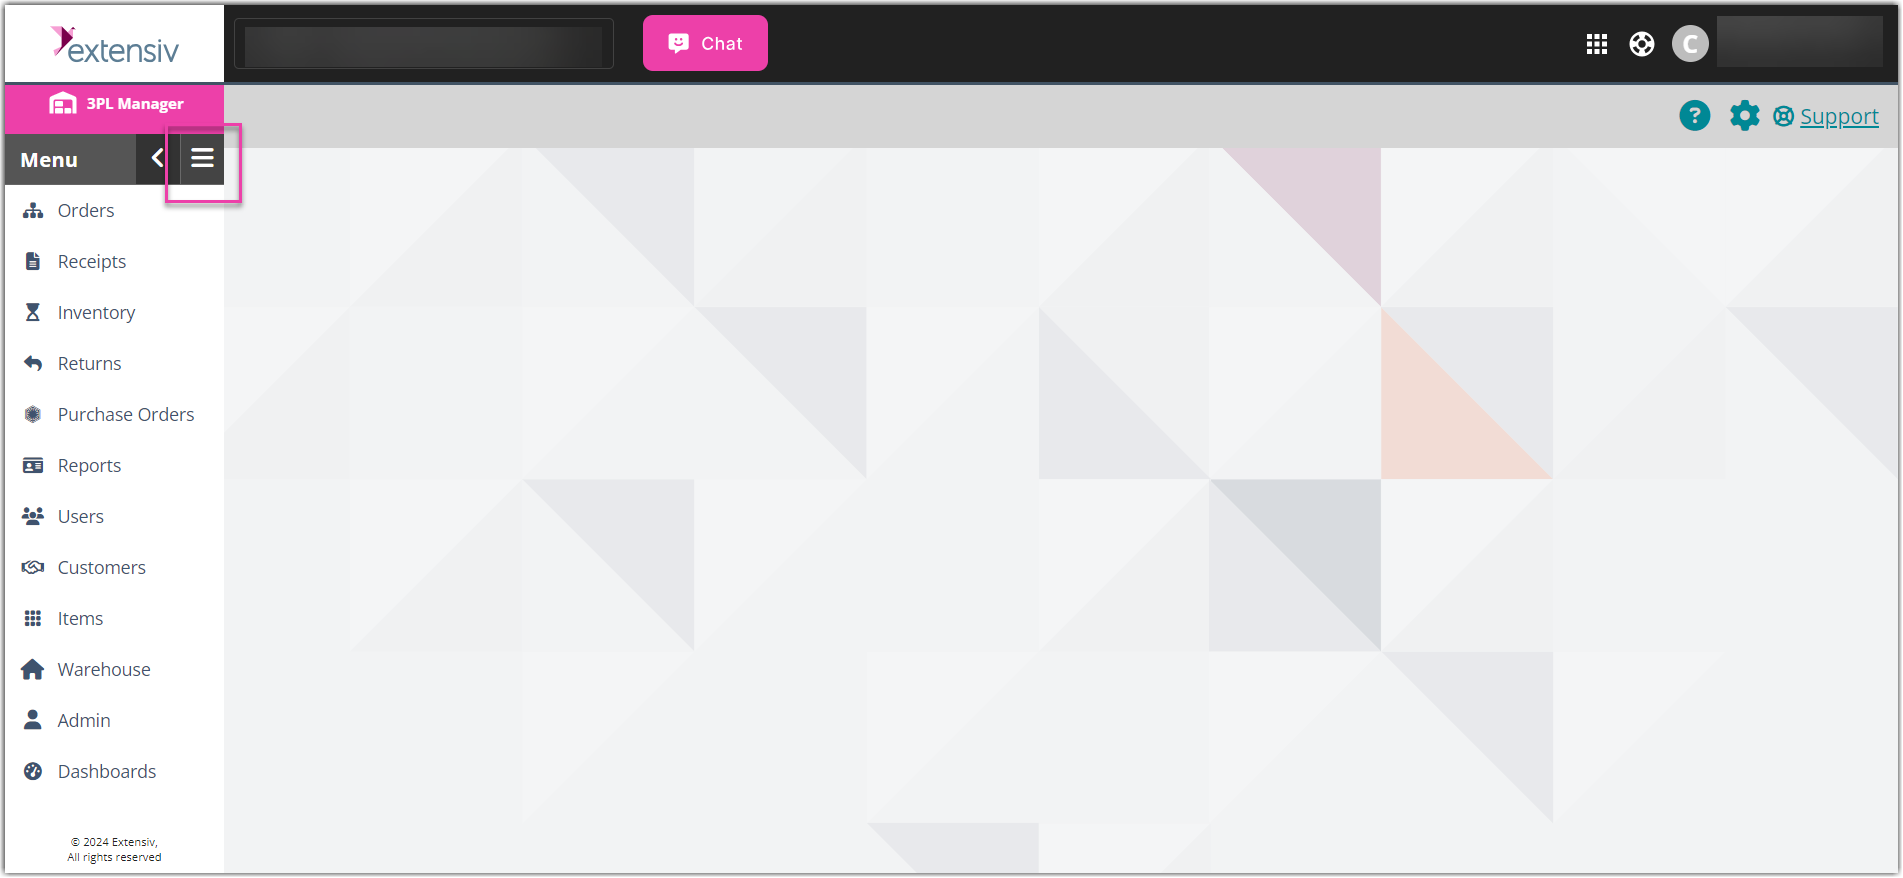
- Click the Spaces menu in the top-right corner of the navigation pane
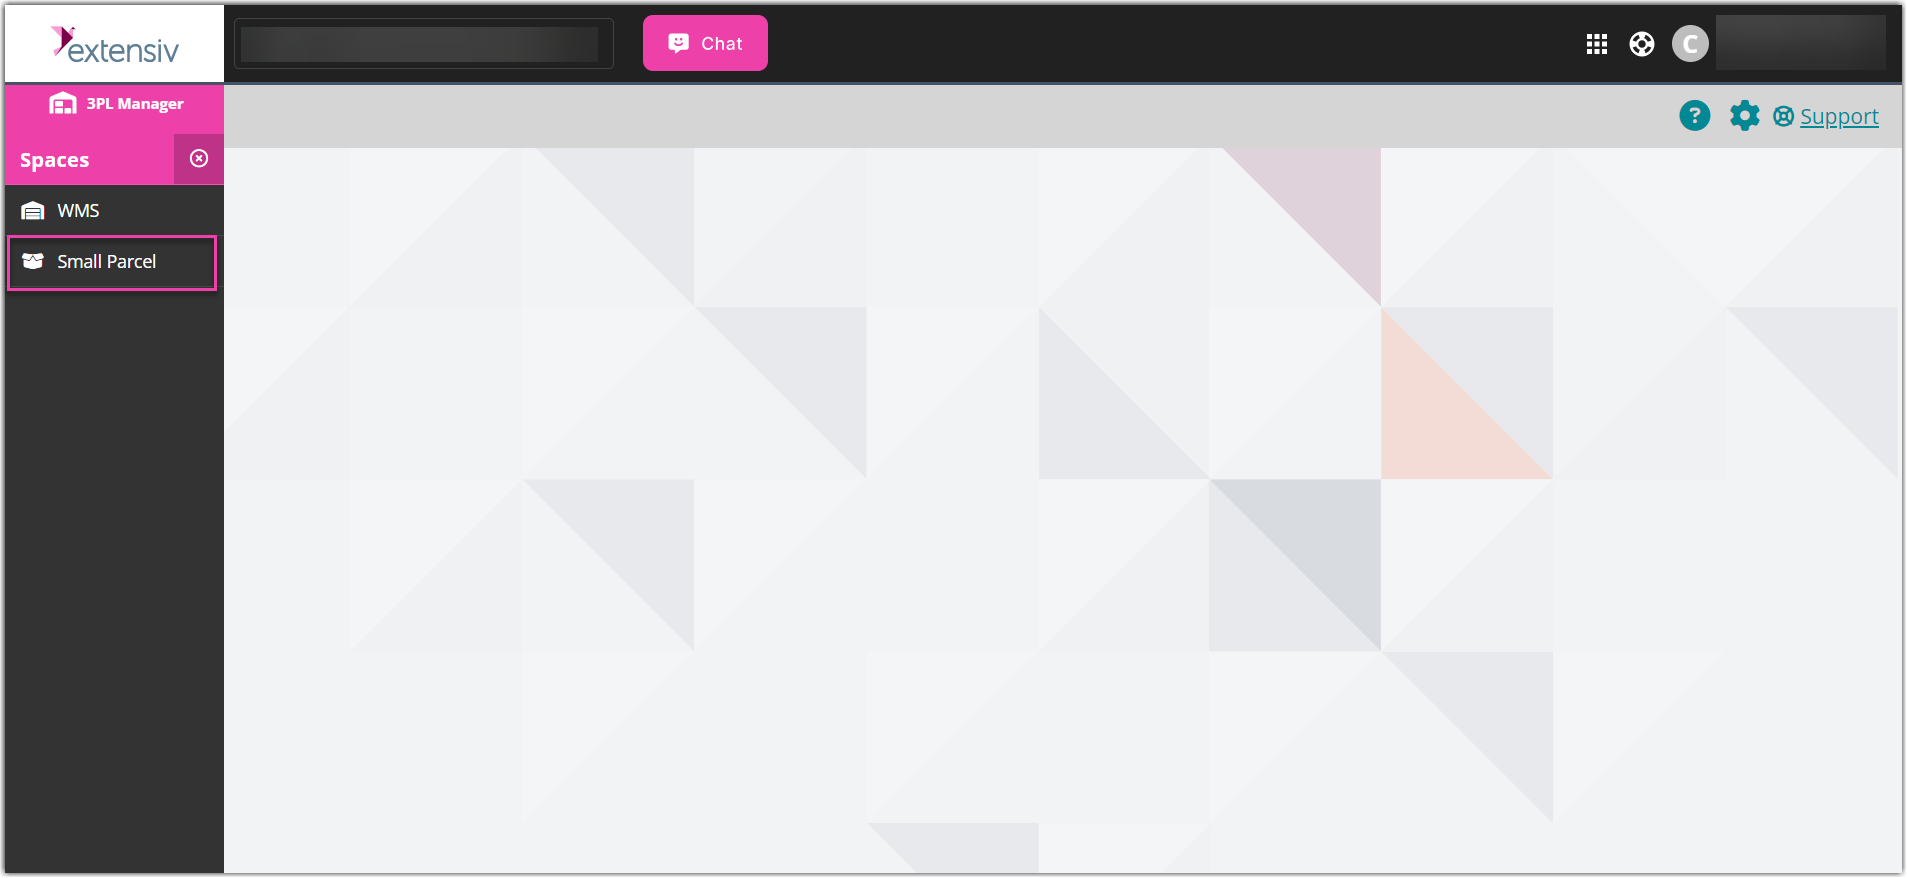
- Click the Small Parcel
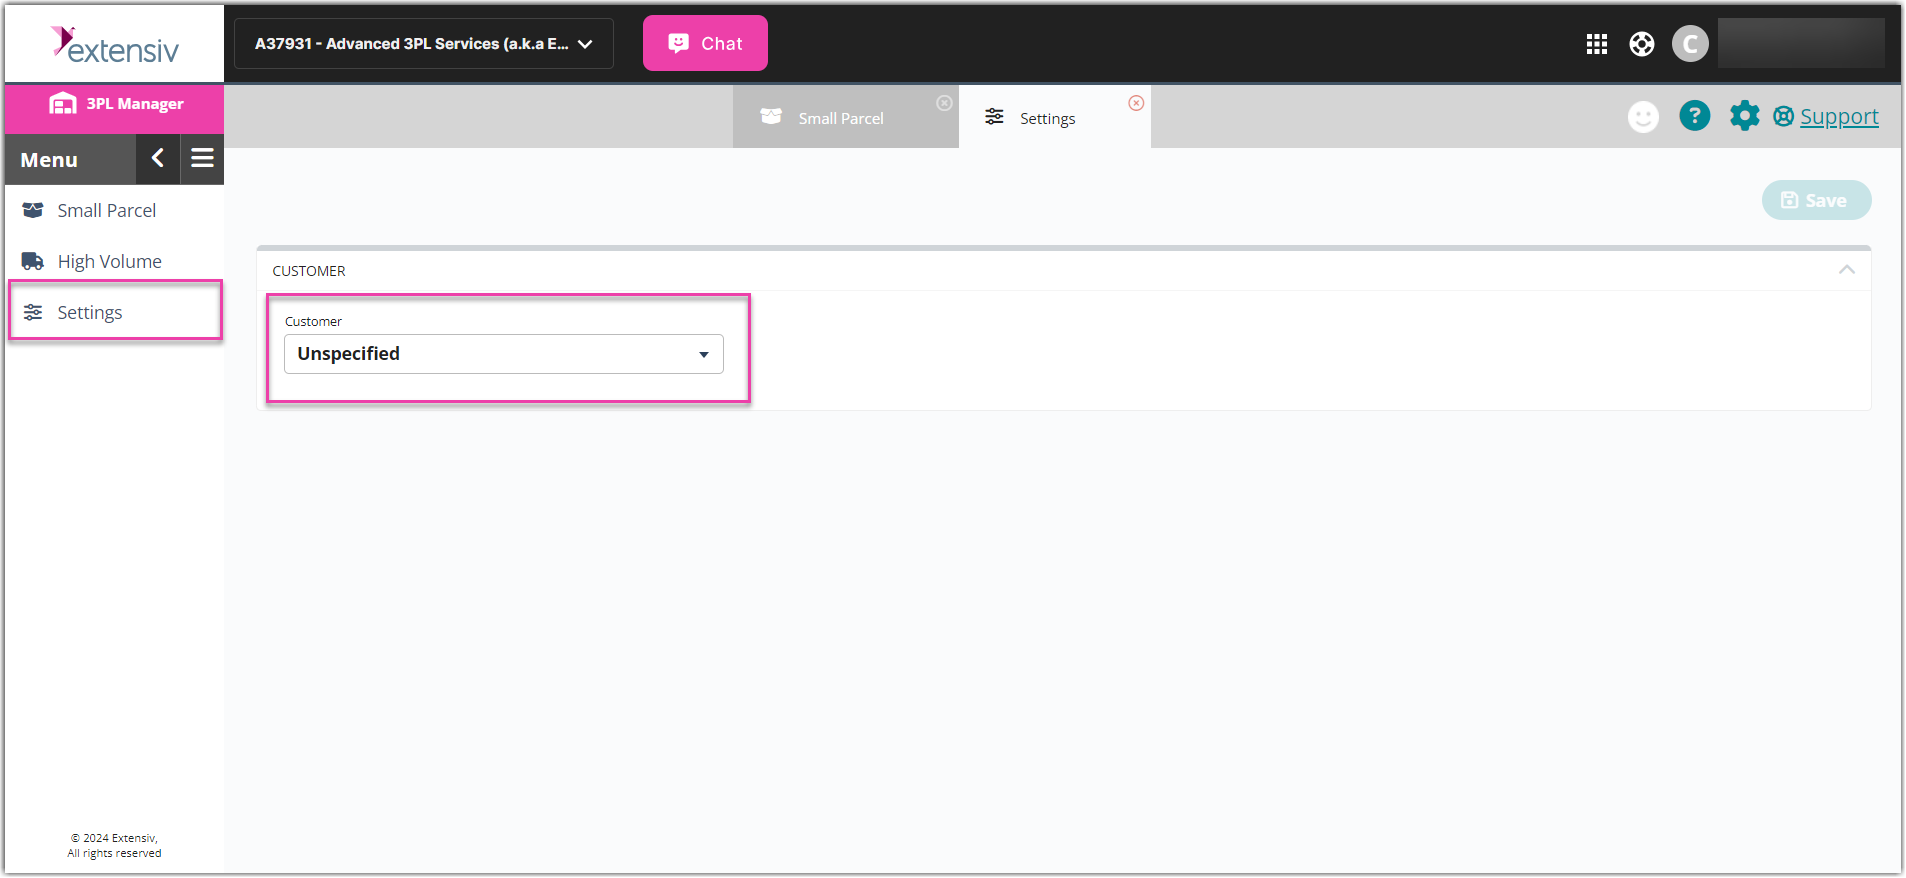
- Click the Settings in the left navigation pane, and then select a Customer
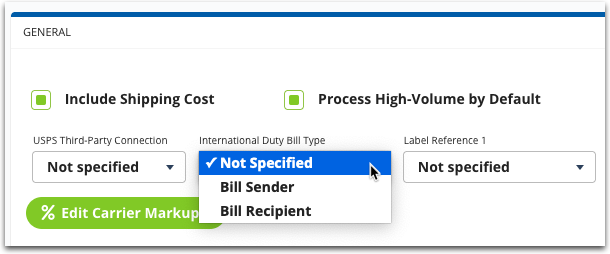
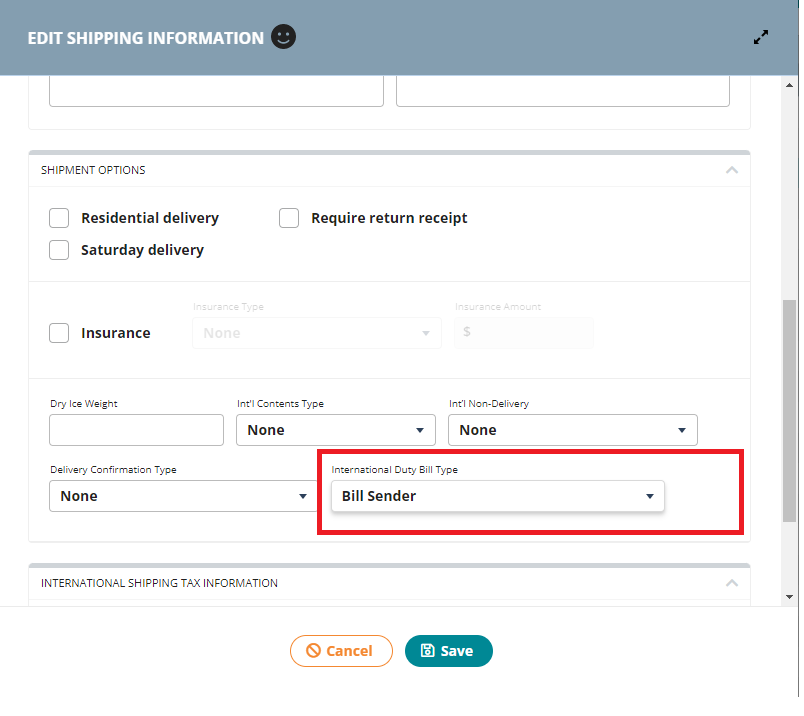
- Under the General section, specify the 'International Duty Bill Type'. This field defines the party responsible for paying taxes and duties on any international order sent from the specified customer. Select one of the following options from the drop-down menu:
- Bill Sender: Shipper pays the taxes and duties (DDP)
-
Bill Recipient: Recipient pays the taxes and duties (DDU)
Please note that the selection of Bill Sender or Bill Recipient will be reflected on the commercial invoice returned from the carrier.
- Click Save.
If you wish to override this setting default for the International Duty Bill Type, you can modify at the order level by selecting Manage > Edit Shipping Info” and this value will override your setting.
Step 2: Confirm items are fully configured
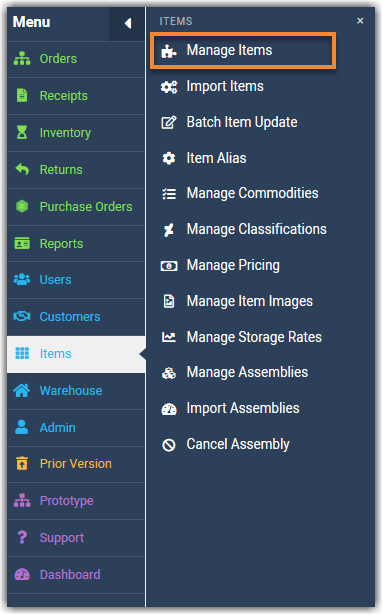
- Return to the WMS, then navigate to Items > Manage Items.
- Select the appropriate 'Customer' from the drop-down menu.
- Select a relevant item from the grid, then click Edit.
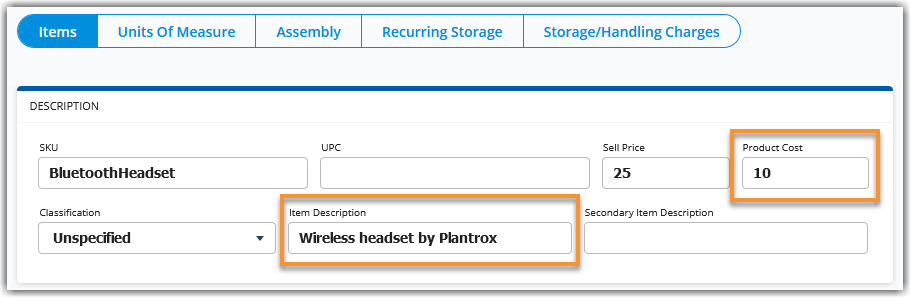
- Under Items > Description, ensure accurate values exist for 'Item Description' and 'Product Cost'. If not, enter them now. (Note: These values are used to populate the "Description of Goods" and "Unit Value" fields, respectively, on the Commercial Invoice)
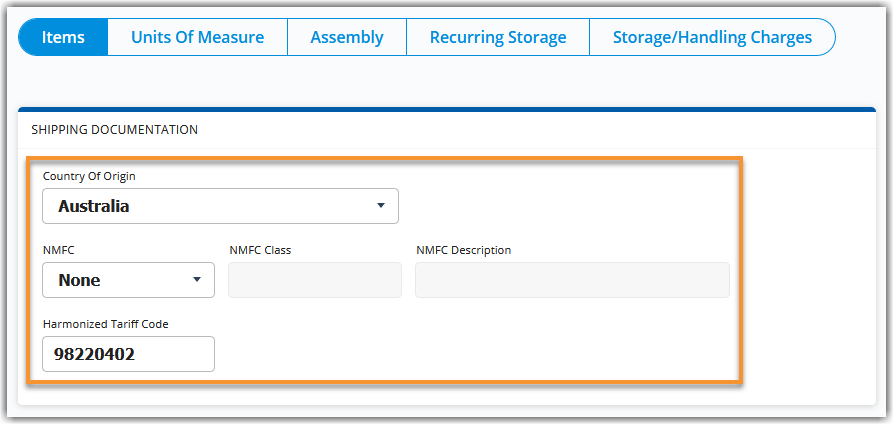
- Under Items > Shipping Documentation, ensure each field is completed as necessary.
- If you made changes, click Save.
- Repeat Steps 3–6 for each item being shipped internationally for the specified customer.
Step 3: Review delivery options and print shipping label
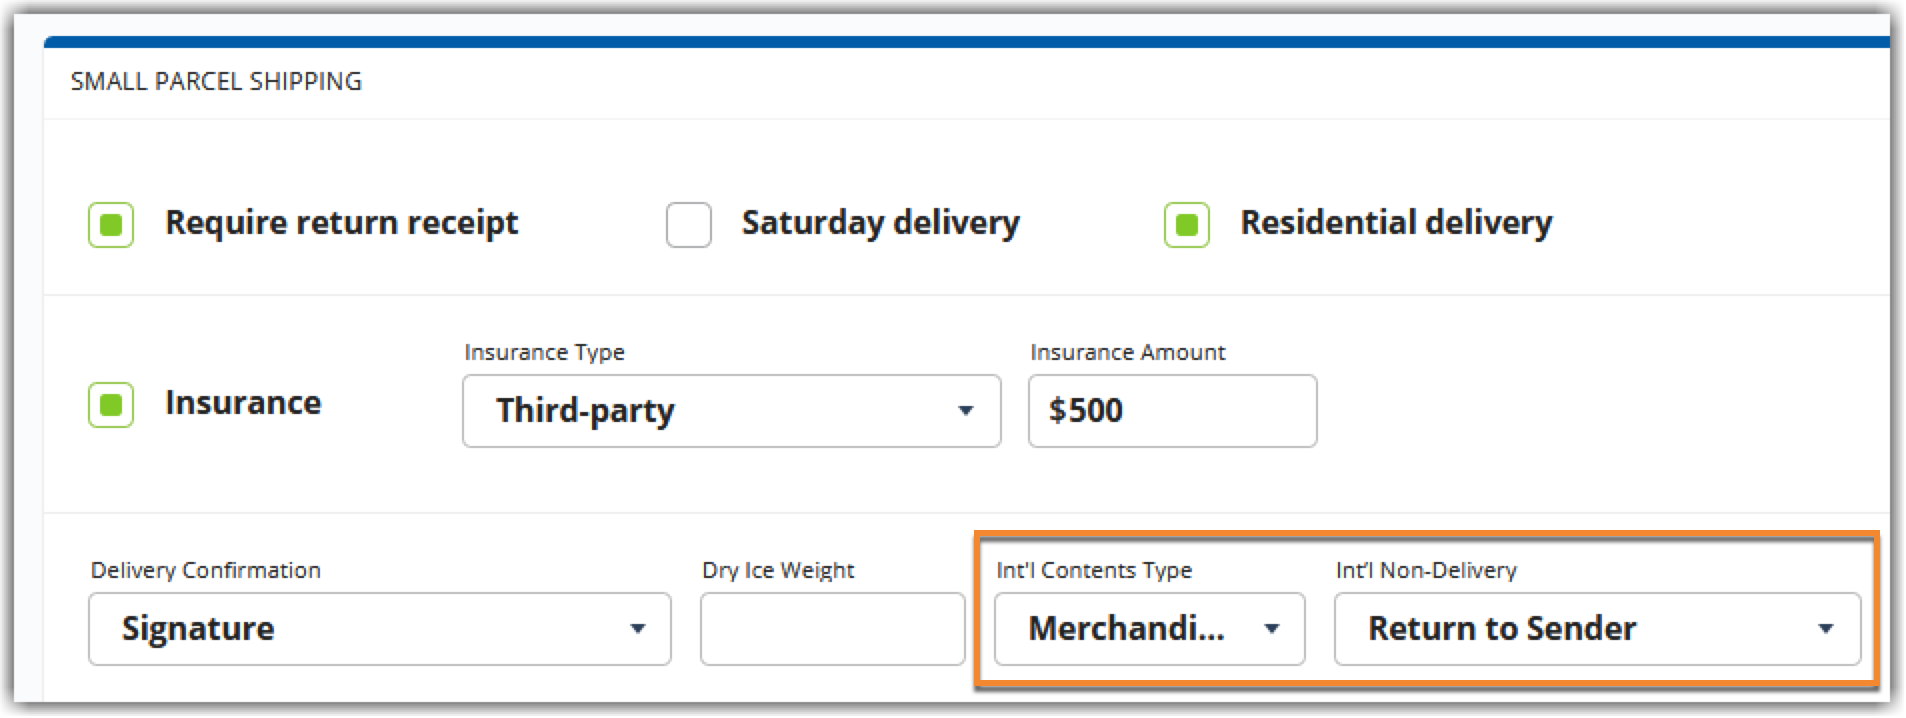
There are two international delivery options that must be specified for the commercial invoice that is sent to customs. The majority of shippers electronically file this information so that the invoice is sent to customs before the shipment arrives.
Please note that if you do not specify values for the fields below, the system defaults your selections to 'Merchandise' and 'Treat as Abandoned'.
- Select an international order from the Find Orders page or within the Small Parcel space.
- If selecting from Find Orders, click Manage > Edit Carrier and Routing.
- If selecting from the Small Parcel space, click Manage > Edit Shipping Info.
- For 'Int'l Contents Type', identify the contents of an order.
- For 'Int'l Non-Delivery', specify the action a shipping carrier should take if they can't deliver an order to the specified recipient. Choose from the following options:
- Treat as Abandoned: Leave the package in the most secure location at the specified address
-
Return to Sender: Return the package to the shipping facility or the defined return address (not supported with all carriers)
- Print your shipping label.
Step 4: Print international documents (optional)
If you don't send this information electronically via the shipping carrier, you must print the commercial invoice from the Small Parcel space to include in the package.
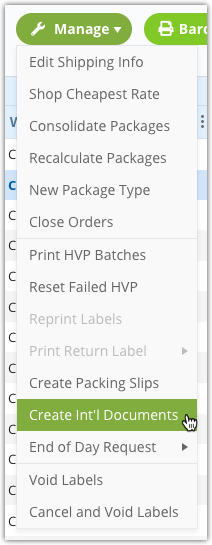
After you print the shipping label(s), select the order(s) from the Small Parcel space, then click Manage > Create Int'l Documents.
If you printed the shipping label via ZPL, a separate tab opens within the application that displays a grid and a link to download the commercial invoice for each order needed.
If you printed the shipping label via PDF, the commercial invoice generates as a PDF on your device.
Once you print the commercial invoice, place it inside your package during the packing process.