Navigating Billing Manager
This article is about the Billing Manager app, not the Billing Wizard in 3PL Warehouse Manager. To learn about the Billing Wizard, please refer to the articles in the Billing Setup.
Accessing Billing Manager
- Log in to Extensiv Hub.
- Select the appropriate organization if you have multiple organizations.
- Choose Billing Manager from the list of applications. If you can't find Billing Manager, it means that you don't have access to this product. Ask your admin to grant you access.

Navigating Billing Manager
When you open Billing Manager from Extensiv Hub, you'll see the Billing Manager landing page, which includes a left navigation menu with several items that may or may not be visible to you, depending on your role permissions:
-
Settings: includes all Organization-level settings for Billing Manager, where you can manage your merchant account and default invoice settings.
- Invoice Settings: provides the default level settings for invoicing.
- Merchant Acct: gives access to your Merchant Account for online payments.
- Company Info: captures your company details including address, contact information and company logo.
- Users: lists all the users who have access to Billing Manager, where you can update a user's assigned role.
- Roles: shows the types of available roles, and you can create a role and assign permissions as needed.
-
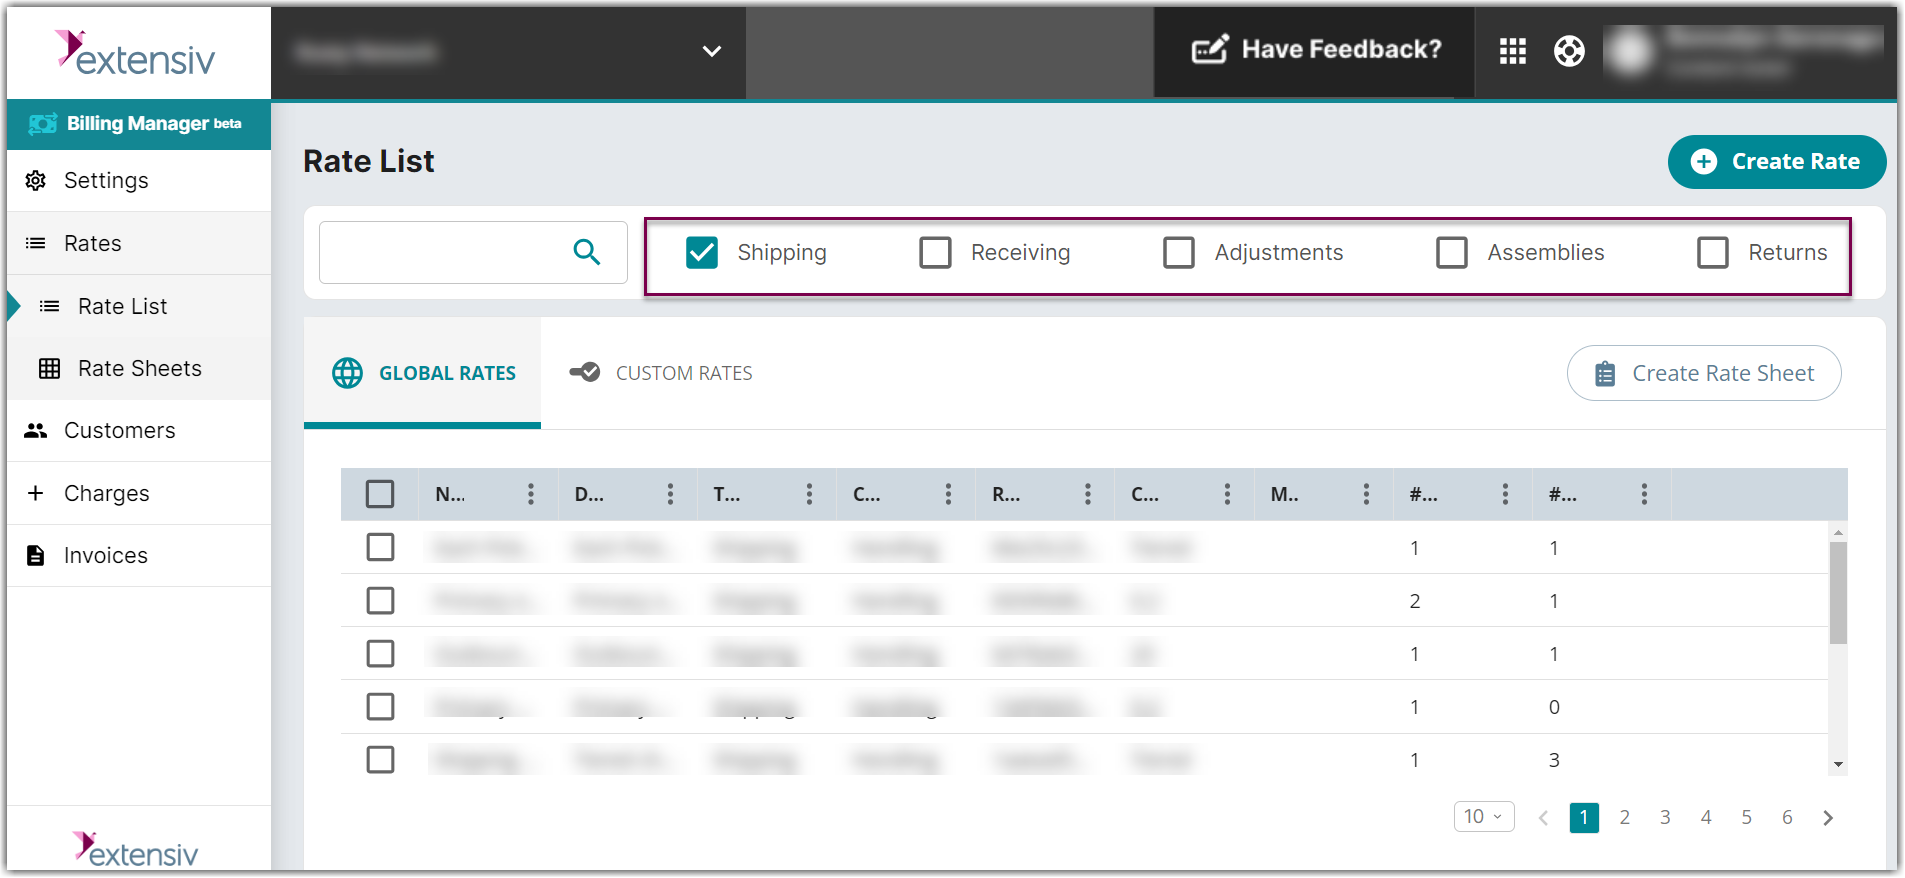
Rates: includes global and custom rates, where you can also create rates and rate sheets.
- Rate List
-
Rate Sheets
Note: you can filter the rates created by category i.e., Shipping, Receiving, and Adjustments
- Customers: contains information about your customers, where you can create new customers and configure their billing.
- Charges: lists all charges for all customers, where you can review charges and approve them for invoicing.
-
Invoices: contains all invoices for all customers, where you can review invoices and publish them for customers to view and pay.
