Setting Up Payments per Customer
This article is about the Billing Manager app, not the Billing Wizard in 3PL Warehouse Manager. To learn about the Billing Wizard, please refer to the articles in the Billing Setup.
Step-by-step guide
- Navigate to Customers.
- Select a customer from the list.
- Click Settings and then, Edit.

- Go to Payment Settings.
- Enable the desired payment type for the customer.
You can allow the customer to pay via debit/credit card or ACH; if neither option is enabled, the customer will need to call to make payments.
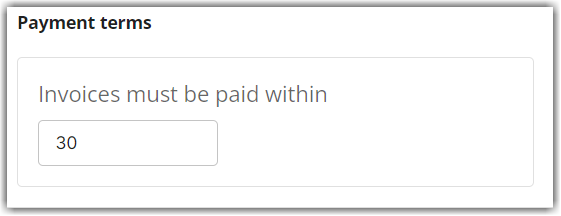
- Indicate the number of days within which the invoice must be paid to set the payment term.

Wallet
Third-party logistics (3PLs) providers can store payment accounts with a signed 'credit authorization' agreement from their customers. This supports both credit card and eCheck (ACH) accounts, providing flexibility in payment methods.
Only 3PL users have access to this payment wallet. Once a payment account is created within the wallet, it can be shared with other 3PL users who require access to make invoice payments.
- On Payment Settings, go to the ‘Wallet’ section and click Add Payment Method.

- Click Yes on the next window. Ensure that you have a signed authorization from the customer.

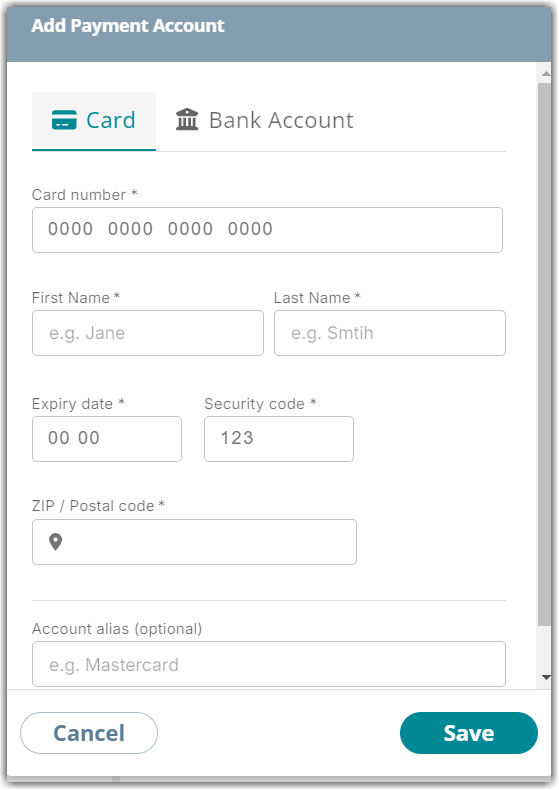
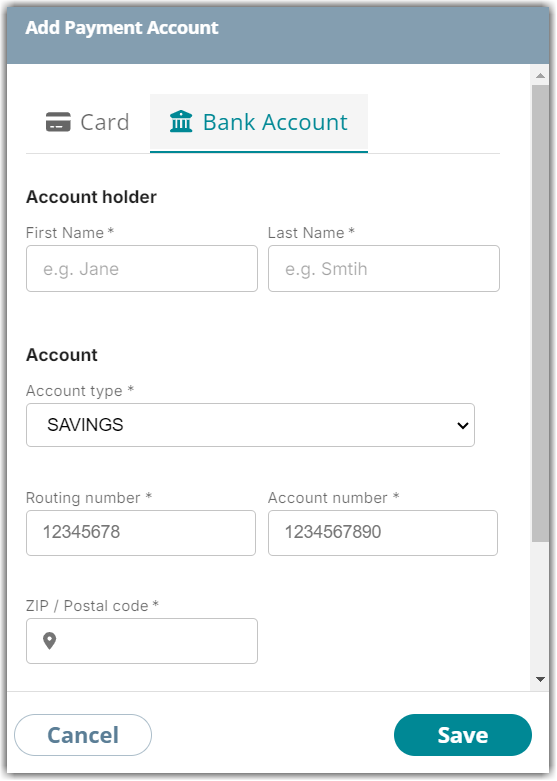
- Enter the card/bank details.


- Click Save. Successful addition of a payment account will display a message stating “Payment Account added to Wallet.”
- To share this payment account with other 3PL users for payment processing, select the user account from the dropdown menu and click Share. Click Skip Sharing if not needed.

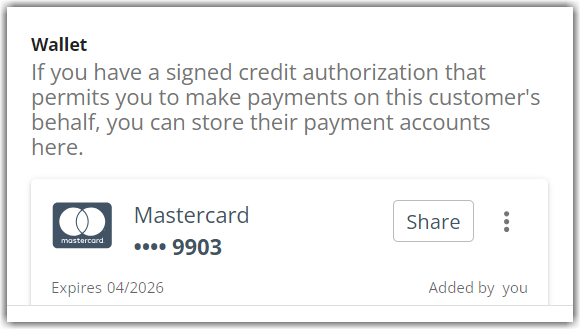
Notice that the payment method is added after in the Payment Settings section. It indicates the expiration date and who added this payment method in Billing Manager.
To delete this payment account, click on the three dots next to Share and click Delete.
