 Warehouse Management

Updated on February 21st, 2023
-
Warehouse Management
- Getting Started
- Admin Console
- Shipping
- Order Picking & Packing
- Receiving
- Customer Portal
- Cycle Counting
- Kit Building
- Managing Users
- Barcode Scanner
- Import/Export
- Integrations
- Barcoding
- Wave Picking
- Bin Move
- Mobile Receiving and Picking
- Settings
- Popular Articles
- Reporting
Packing in Mobile
Once an order has been picked, you have the option to also go through a packing workflow. The purpose of packing allows you to pack items into specific cartons and acts as a verification of the picked order contents to reduce the number of mis-ships.
You must be logged in to a mobile device to start packing.
Packing a new carton
- Start by navigating to Mobile > Shipping/Receiving > Packing or scan a picked sales order to populate the packing screen.


- Select an order by entering or scanning the Doc# or do an order search by date.
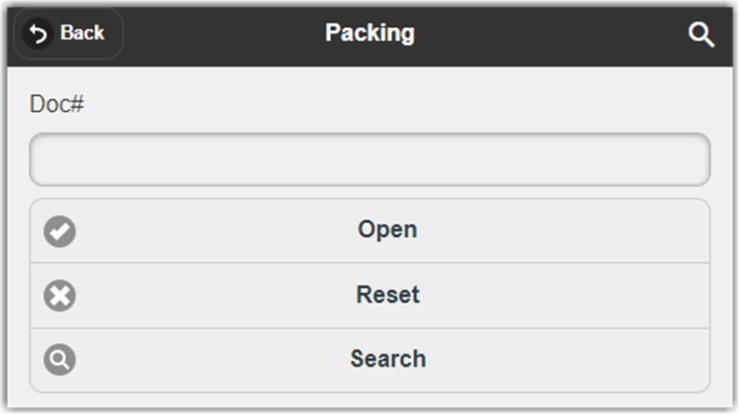
The document will open and show the parts included in the order.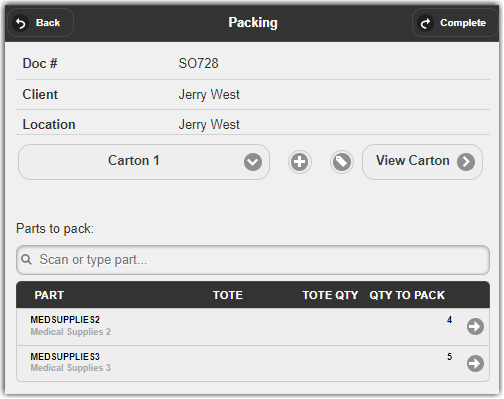
By clicking the carton dropdown menu, you can select which carton to pack.
By clicking the add icon ( ), you can add an additional carton.
You can select a carton from the dropdown menu, then click View Carton to check its contents.
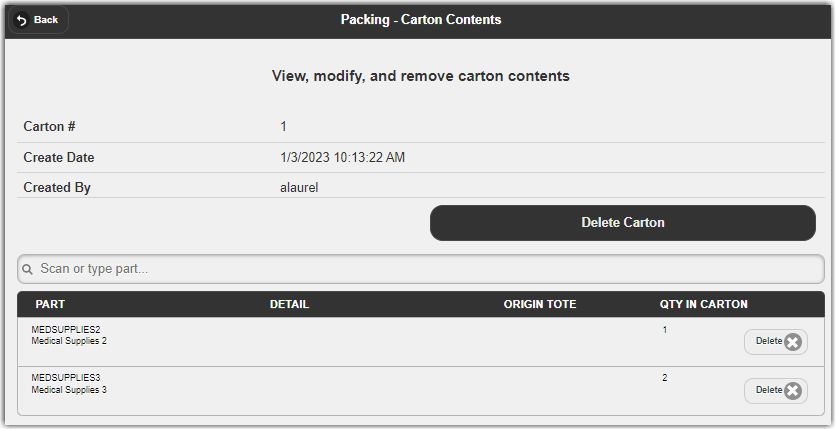
To delete the whole carton together with the packed items, click Delete Carton.
To remove a part from the carton’s list, click Delete at the end of each item.
- Select which carton you will use.
- Scan the part or select from part list.

- Enter the quantity of the item then click Submit.
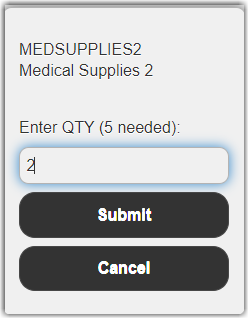
- Repeat steps 4 and 5 until a pop-up appears to indicate that the entire order is packed.
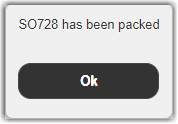
The order is now packed, and you can view the order with the packing details by navigating to Orders > Shipping Orders and search for the order number.

Orders will show in the Picked Complete viewPacking is an optional workflow, and not set up by default in your account.